Wednesday, August 22, 2012

Easy warm lunch: fried eggs and deli meat - recipe

Pin It


This is one of my favorite warm lunches, 
and fortunately my kids like it, too!

In Holland, where I am originally from,
we like to eat our eggs like this.

You can use deli meats, like ham or turkey, or bacon.

It's very simple:
Put some butter in a frying pan, and heat till it's melted.
 Add a few pieces of lunch meat. Fry till they start to curl. 
Then, break one or more eggs on top. 

(If you're using bacon, you might want to fry it a little longer, 
till it's a little more 'done', and also drain some of the grease.)


Fry till the egg is done, and then just turn it and fry it a little bit longer, till the other side is done, too.

The frying gives the lunch meat more flavor, and a little crunch.

I like to put it on toast or a slice of bread,
but it's also good just by itself.

Enjoy!


Shared at Sugar Bee Crafts.

Pin It

Friday, August 17, 2012

Flag Bouquet Birthday Card

Pin It


Just a simple card, using toothpicks and paper scraps.

Since I don't have baker's twine, I twisted two pieces of embroidery floss together.

Easy, and fun to make...

Pin It

Tuesday, August 7, 2012

3D paper flower gift topper - tutorial

Pin It


This is a simple and easy way to create a pretty paper flower as a topper for a gift.

It's similar to tissue paper pom poms, but much easier and quicker.

You only need one sheet of tissue paper, or other thin paper,
for example book pages or sheet music.


1. Cut about 8 squares of paper and stack
2. Fold it double twice
3. Trim the corners as pictured, cutting scallops
4. Unfold
5. Staple the centers together with one staple
6. Pull up first layer and crumple
7. Repeat for each single layer
8. You're done!

That's all there is to it. Simple, right?!

They're fun to decorate gifts, or decorate whatever else you can come up with!

.

Pin It

Wednesday, August 1, 2012

Toy Leash

Pin It


Our baby girl keeps us busy with her newest trick:
Trying to throw everything on the floor:
her toys, burp cloth, you name it...

Enter the toy leash!

When I saw a link for a tutorial HERE,
I knew we HAD to have one.


I basically followed the directions,
but instead of piecing it together, 
I just used one piece of fabric.


Other materials needed:
Some thin batting inside,
matching thread
some velcro,
and a toy ring.


One end attaches to the toy,
the other end attaches to just about anything:

Straps of the car seat, high chair, stroller, you name it.


So simple, but it keeps us from having to pick everything up all the time,
and even better, it keeps her toys clean when we're out and about.


Would also make a great baby gift.

Pin It

Monday, July 16, 2012

Biscuit Lid Magnets

Pin It


Here is a super simple, easy and quick craft.

I have seen some crafts online, using juice can lids.

When I was using some canned biscuits,
I wondered if I could use the ends of the can somehow.

They don't come off as clean as the juice lids,
and are slightly smaller.

But I thought they would make great magnets.

I trimmed the edges as much as possible, and washed the lids with hot soapy water.

The back was not super neat:


But who will see the back side anyway?

Anyway, all you need to do is:

Get some pretty paper, adhesive (I used double sided tape), and flat magnets.

Cut out circles, by hand or using a 1 3/4" circle punch.
Adhere the circle to the front, and the magnet to the back.


And you're done.


Cheap, fast, and simple: my kind of project!

Shared at Sugar Bee Crafts.

Pin It

Bread Basket Condiment Carrier

Pin It

 We like to eat outside a lot during the summer.

The thing I don't really like is running back and forth to the kitchen with all kind of stuff.

So today, as I was getting stuff ready to take outside,
I suddenly had an 'aha'-moment:

Why not put all our condiments in a bread basket?
This is an oval basket, and it worked great.

I'm probably not the first one to think of it,
but thought I'd share anyway...


Happy summer!

Pin It

Wednesday, July 11, 2012

Caterpillar Birthday Party

Pin It


It all started about a half year ago, when I spotted this cute party hat at our local $ store.

I really liked it, so it just had to come home with me.

Fortunately, a half year later I still remembered that I got it,
and even more important: where I put it!

A simple theme, and fitting for a one year old's birthday.
Which we happened to combine with our 7 year old girl's, 
who just had a project in her classroom where they watched caterpillars develop into butterflies.
(She had her 'own' party too, with some of her classmates.)

Since cake decorating isn't my forte,
I kept things simple.

I used M&M's to create caterpillars on cupcakes.
Used a toothpick and black frosting for the face, and sprinkles for antennas.

I put some cupcakes in a pie plate, and put colored icing on some of them to create one big caterpillar. 

I made this banner out of fabric.

No sewing at all, just a lot of hot glue...


I first assembled the caterpillars, by gluing fabric circles onto a strip of paper.
Drew the faces on with fabric paint, and used pipe cleaners for antennas.

Then I cut triangles, glued them onto a piece of twine, and glued the caterpillars on the pennants.

Simple and cheerful.


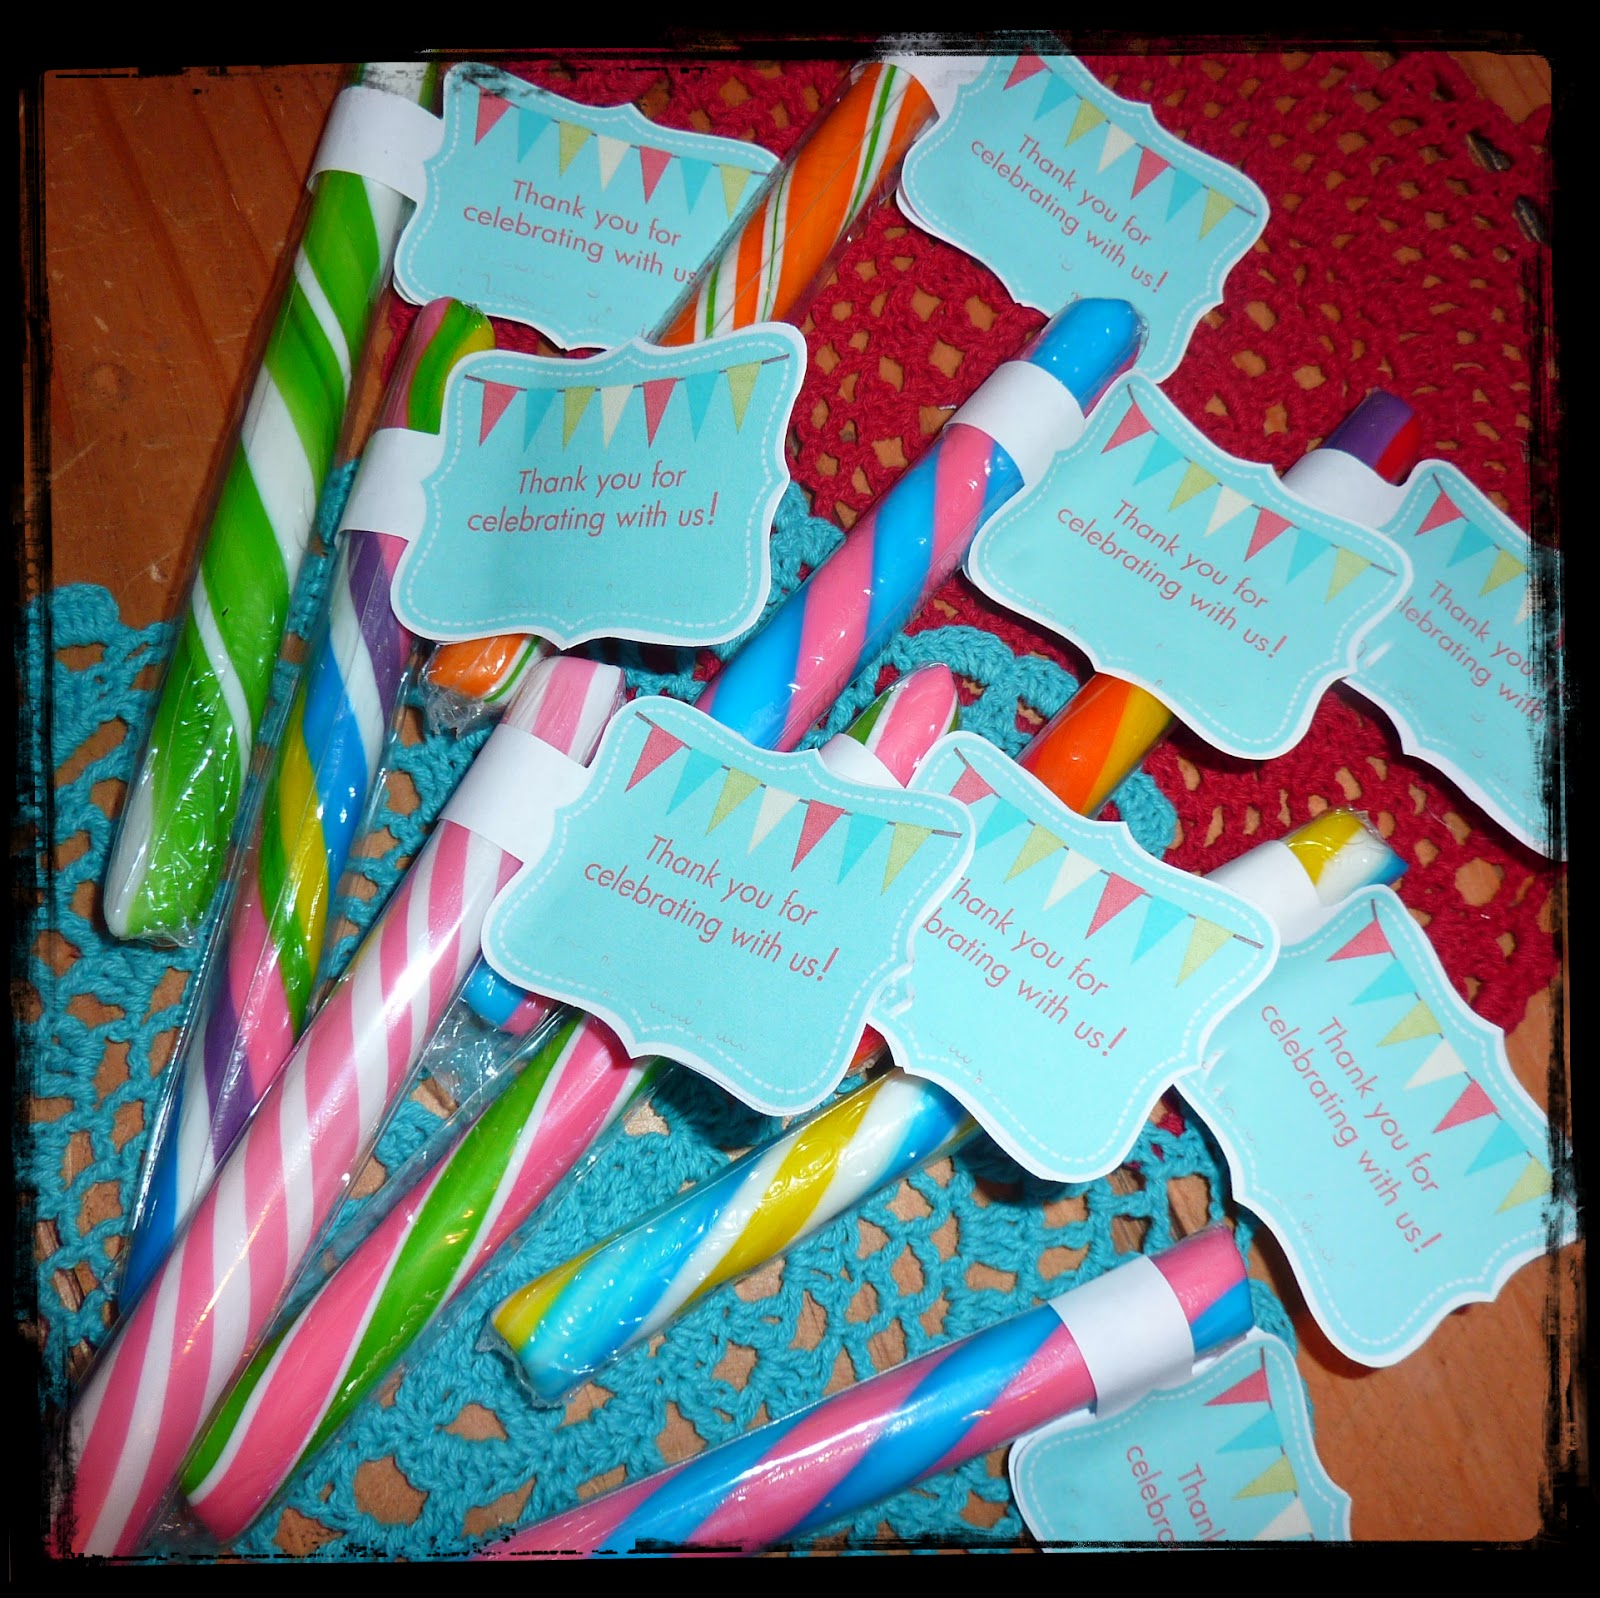
And some colorful favors...


(And for those of you who know us in real life:
yes, this post is way late, it somehow got stuck in my drafts...)

Pin It