

 I like to have one of these little pocket calendars in my purse, so that I can keep track of appointments and stuff when I am on the go. This one was pretty plain, so I thought I'd give it a make-over. It's fast, fun and easy, and this is what I came up with:
Supplies needed:
- Pocket Calendar (duh)
- Patterned scrapbook paper (one large enough to cover the whole outside, plus a little extra so that it can be folded around the edges)
- Paper trimmer
- Glue
- Ribbon
- Clear nail polish to finish ribbon
- Optional: other materials, like flowers and rhinestones to embellish
First, remove the plastic cover of the planner. If you plan on decorating with several layers of paper, trim the outside edges of the original planner cover a tiny little bit. This will give you more room to work with, and makes it easier to slip the cover back on.
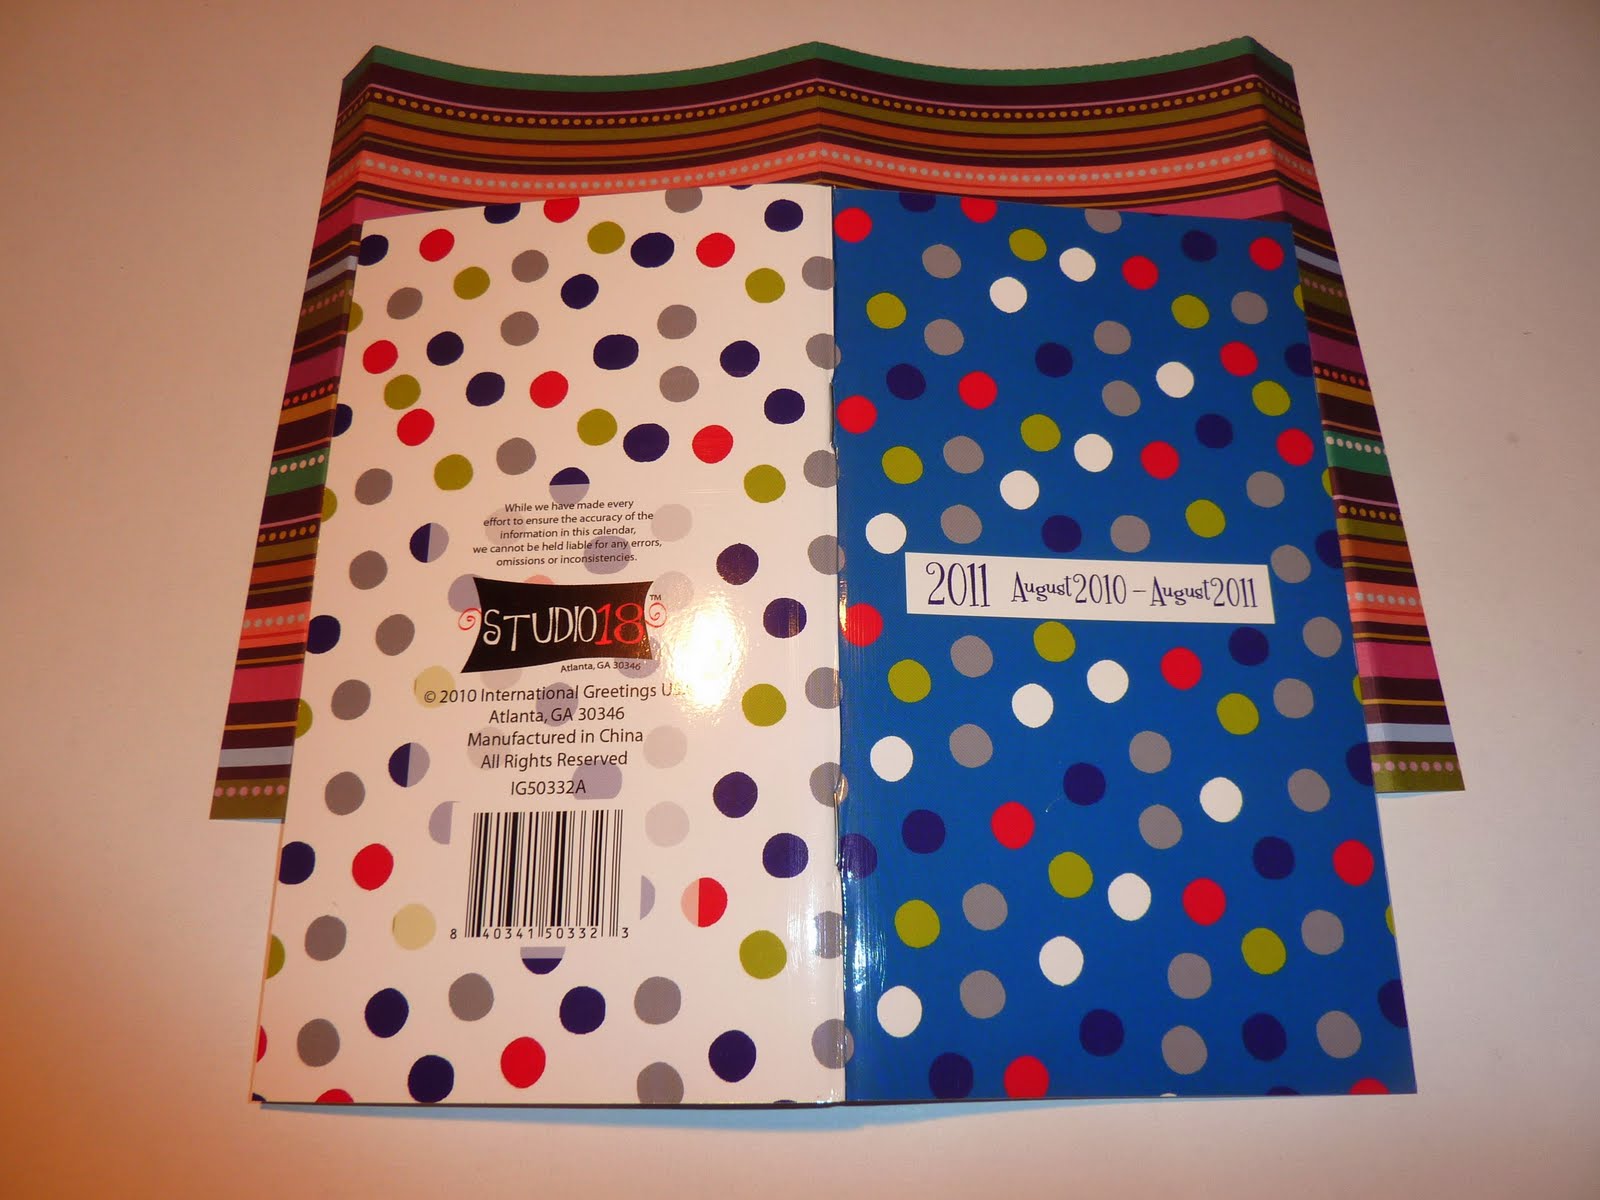
Then, cut a piece of paper the same height as your planner. Lay the planner open as pictured, and make sure you cut the width a little larger than the planner, so that you can fold the edges around the original cover.
After that, take a piece of ribbon, about 1.5 times the height of the planner. Glue it to the paper you will use as the cover as shown in the picture.

Then, glue the paper around the cover.

Finish the end of the ribbon with some clear nail polish to keep it from fraying.


Use other papers and embellishments to decorate your planner.

Then you can slip the cover back on, and you're done.
I linked up to:


3 comments:
Hopping over from CraftGossip, Love the papers you chose for your pocket calendar! Very nice!
{Rebekah}
I absolutely love this! I think I'm just going to have to re-do my pocket planner, too. Love the colors!
Debbie J
Thanks for this. I am in charge of a pocket calendar decor activity for mops this week so I googled and found you. I didn't even think about a ribbon bookmarker but we have TONS of ribbon in our MOPS craft closet...good call. I will be looking over here for more ideas. thanks.
Post a Comment