Showing posts with label Vinyl. Show all posts

Friday, January 11, 2013

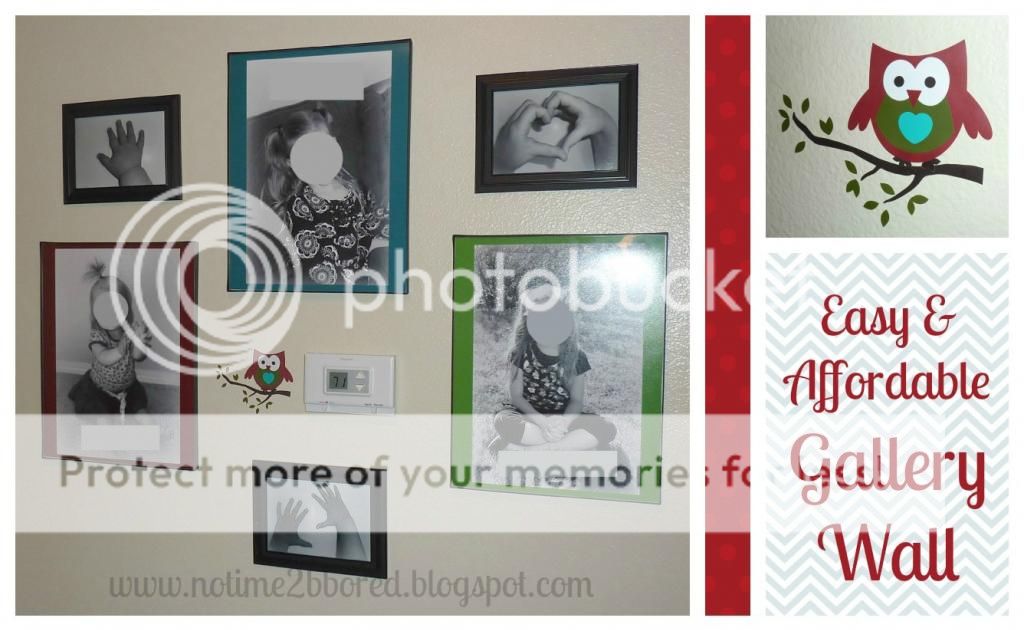
Easy and affordable gallery wall

Pin It


We updated our hallway upstairs with a pretty rug.

Our current wall decor didn't match the rug,
so I started thinking about an easy way to change it.

I came up with this gallery wall using simple black & white pictures of our children.

It was very cheap, fast and easy...

So I will share what I did.
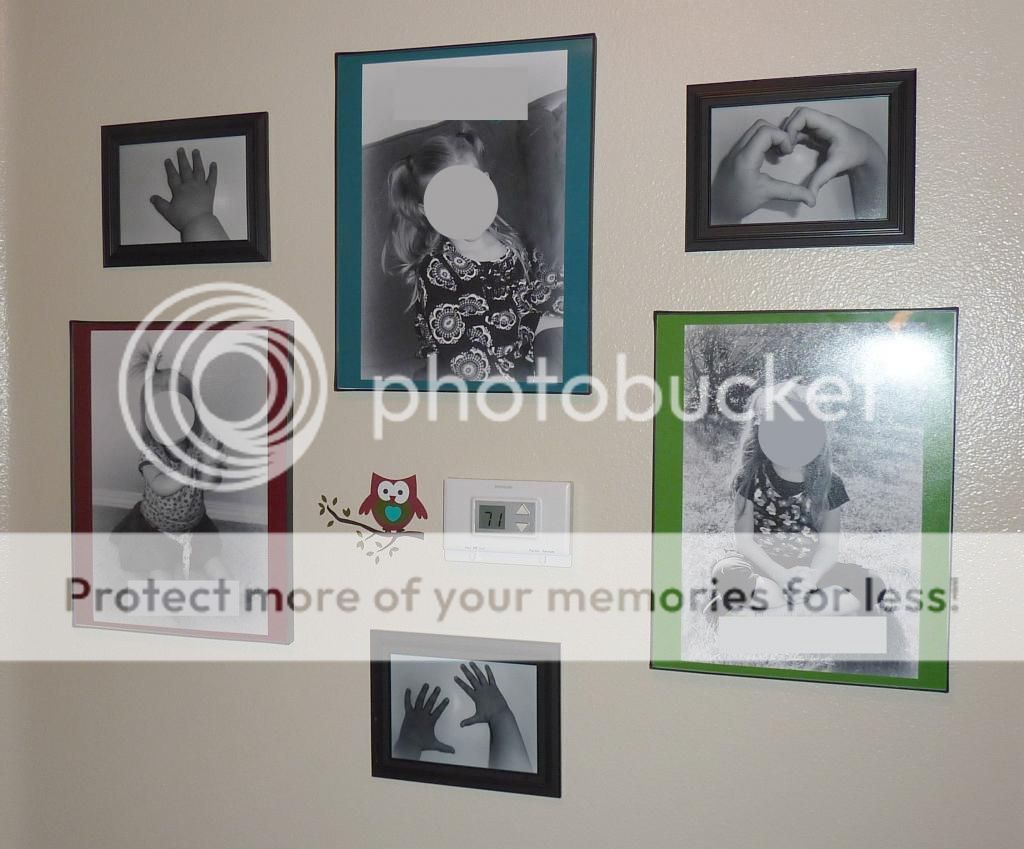


First, I selected some pictures of my girls that I really like.
They were all taken in different settings, and they were wearing different colors,
so I changed the pictures to black and white for a more uniform look.

I also took pictures of their hands.

Then, I got some frames at the $ store:

11 by 14 document frames for the large pictures, and 5 by 7 frames for the small ones.

Since I wanted to add some color,
I used Picasa to do that:


  1. Create a picture collage in Picasa (option: Picture pile)
  2. Pick the right size (for me 11 by 14)
  3. Pick "solid color" for your background and select a color.
  4. Add the picture of your choice: you can drag it to the right position and resize it if necessary.


I saved it and added their names (in the same color as the background) on top of the picture.

Then I just had the whole picture printed. No need to mat the picture, since that is already a part of the picture. 
A very easy way to customize the colors with your decor. 
The added names add to the customized look...

Simple, right?!


I hung the pictures, but something wasn't quite right yet:

I didn't like how everything was centered around the thermostat, so to distract from it, 
I used some vinyl and my Silhouette Cameo to create this little owl.
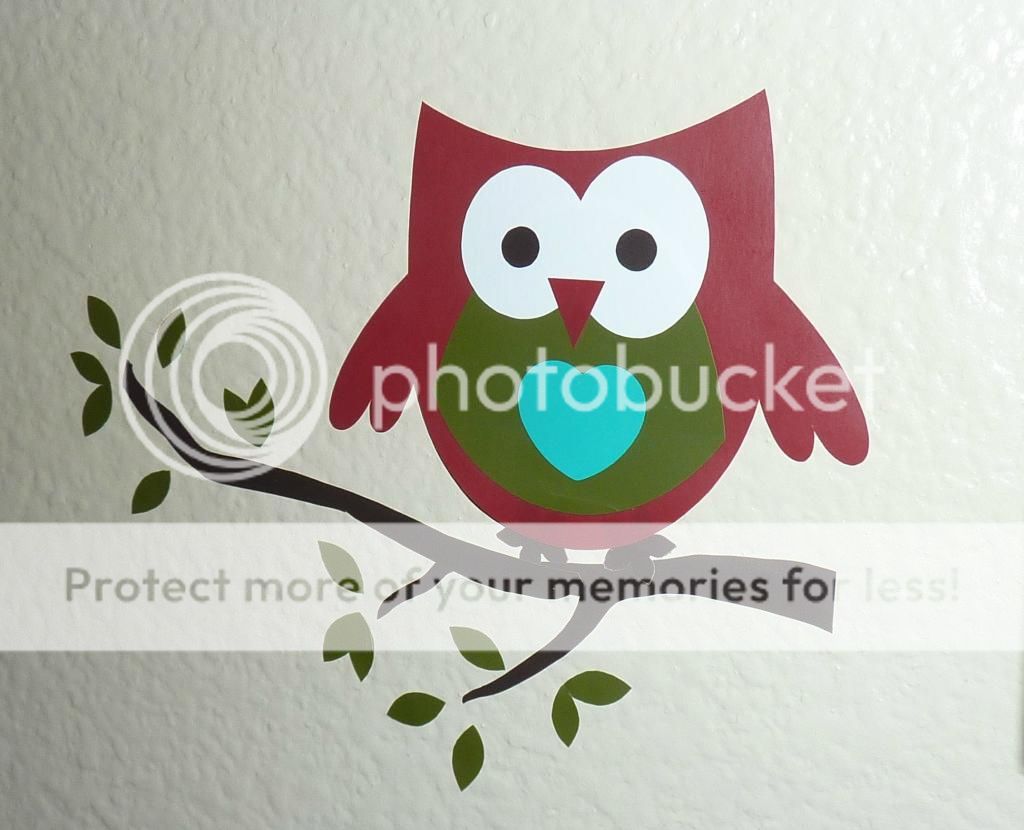


Now the thermostat isn't the center of attention anymore :)

Pin It

Monday, October 29, 2012

Laundry Schedule - Funny quote on canvas

Pin It

When I saw this quote somewhere online,
I knew it belonged in my laundry room.

It sounded SO familiar.

With 5 laundry producing people in our household,
doing laundry is one of these never-ending tasks.

It would maybe be better if I could just finish the job in one day,
but somehow, that never happens.

I really live up to this quote.

(I also line dry a lot of stuff, which then hangs in the laundry room,
and that sort of turns it into an extra closet where I go to get clean clothes, 
often till the next time when I need space to hang stuff to dry...
But how do you put that in the quote? :)  )


Initially, I created the following canvas:


I just painted the canvas,
cut the text out of Vinyl, using my Sihouette Cameo,
and put the letters on there.

I used non-permanent vinyl,
and that was no good idea.

In the damp environment of our utility room,
the letters started to come off after a while.

Since I wasn't too thrilled with the sign the way it was, anyway,
I decided to give it another try.


I peeled the letters off, and cut the text out of contact paper this time.

I put the letters on there, and then painted all over it with grey paint.


After the grey paint had dried,
I stamped some swirls on it with red and aqua paint.


And then I pealed off the contact paper letters,
to reveal the text again.

Unfortunately, I didn't take any pictures of the process.
This was one of these spur of the moment crafts,
 that I decided to do late at night when the kids were in bed.


I am still blogging daily this month to raise awareness for Down syndrome.
Want to know why? Click the tab "Down syndrome resources" on the top of this page.

"31-for-21" challenge - Day 29


Shared at Sugar Bee Crafts.

Pin It

Wednesday, April 25, 2012

Teacher appreciation gift

Pin It


We made this gift for the teacher of my oldest daughter.

She is a GREAT teacher, and we wanted to give her something to show that we appreciate her.

So we gave this glass jar, filled with Hershey's Nuggets, wrapped in cute apple paper.
The paper and other supplies I used are scrapbooking supplies that I have had for a while.


With my Silhouette Cameo I cut her name in vinyl to personalize the jar.

My daughter helped me cut a 12 by 12 inch sheet of scrapbook paper into 48 pieces that were 1 by 3 inch each. That is: I positioned the paper, and she moved the knife of my paper trimmer...

(First cut it into 12 1 inch strips, and then cut each strip into 4 equal pieces.)


On the top of the jar I made this label.
I sketched the apple by hand to match the apple on the paper.
Then, following that pattern, I poked holes in the cardstock, and stitched the apple by hand.
She colored the apple.


Together we added the scrapbook paper to the bars, using adhesive.

I used the following bag of Nuggets. It holds about 50 pieces: just perfect: we ate 2 and wrapped 48.


(I got the jar and the candy at Target.)

We hope she likes chocolate!


Shared at Sugar Bee Crafts.

Pin It

Wednesday, January 25, 2012

Some random projects: crochet baby cardigan, ruffle scarf and vinyl snowflakes

Pin It

Here are a few projects that I've done recently:

A little crochet cardigan for our baby girl for this spring:


Trying to decide if I like it better with or without the flower. 
For a bigger child, I would just attach a pin and make it so that I could take it off, but don't want to do that for a baby...


I love how fast it came together...

* * *

For myself, I made this ruffled scarf:


Using elastic in the back, I shirred it. 
In the picture below you can see the elastic on the back side.
So easy, just sew straight lines with elastic instead of regular thread on your bobbin.


There may be more of these in my future...

* * *

And this is something I did a while ago already:


I made vinyl snowflakes with the Silhouette Cameo.
They looked almost out of place with the weather we had for the last couple months,
but last week, it finally started to look right:


Love the intricate design of the snowflakes.

And decided they'll stay a little longer, even though the snow is gone again.

Who knows, the snow might be back?!

Pin It

Tuesday, December 13, 2011

Silhouette Cameo: Vinyl wall quote for the nursery

Pin It

A couple months ago my husband told me he wanted to get me a Silhouette SD as an anniversary gift. 
I have admired the Silhouette SD for a couple years, but never wanted to actually spend the money to get one.

Even after he told me to get one, I waited a while.
That turned out to be a good thing, since I was able to get a good Black Friday deal on their newest model, the Silhouette Cameo.

I have had it for about a week and a half, and I LOVE it!

So many things that it can do.

What I love the most, is that it doesn't need cartridges, but you can buy individual files (which go on sale sometimes), and you can also use all fonts on your computer.

With all free fonts that are available (and dingbats, which are actually pictures),
 the possibilities are endless.

I realize I sound like I am trying to sell the product. 
Trust me, I am not, I don't get paid to say this, but am just very impressed with it :)

You need to use it with your computer, and it comes with software that is easy to use. 
It can cut a 12x12 sheet, and you can resize a file just by dragging the corners, so you can resize anything pretty easily to exactly the size that works for you. 

The pictures below show my first bigger project.

Our nursery is decorated in a  classic Winnie the Pooh theme. 
I have loved the quote below for quite a while.
So thought it was perfect to go on her wall!


I made the quote and the heart with the Silhouette, using the following free fonts.

The quote: Reklame Script Regular DEMO (only letters, you pay for the full version)
Winnie's signature: Boopee
Heart: KR Heartalicious (actually it's the capital G)

The little bee and Winnie himself are vinyl stickers that we bought several years ago.


You can expect to see more Silhouette Cameo projects in the future!

I linked up to Blue Cricket Design.

Pin It