Showing posts with label card making. Show all posts

Monday, June 10, 2013

Free Printable Father's Day Card

Pin It


I had fun creating this card with the help of my daughters.

It was fun for them to come up with words that describe their daddy.

And now they're off to make more :)

You can make your own, but if you're short on time or inspiration,
feel free to use this one!


Click HERE to download the card.

As always: for personal use only!

Shared at Sugar Bee Crafts.


Pin It

Monday, February 11, 2013

Free Chalkboard Valentine Printables

Pin It

I really like the chalkboard art I've seen everywhere lately.


I gave it a try, and happened to find my attempts again today.

So I thought I'd share :)

They could be used as a card or home decor.


And the following one is a variation on this printable I created last year.


And as always: for personal use only please...


Pin It

Friday, December 7, 2012

Colorful surprise

Pin It


Don't you love to receive packages in the mail?
We do, especially when they are as beautifully wrapped as this one we received from a sweet friend. 
And look at these delicious treats...


I absolutely LOVE this hand-stitched card with embroidery, beads and buttons.


Pin It

Saturday, December 1, 2012

Pennant Banner Card

Pin It


When my sewing machine is already sitting out, and  it's ready for a new needle,
I like to use it for stitching cards.

This simple card with a colorful pennant banner can be adjusted and used for different occasions.

Even without stickers or stamps it's still cheerful, and the flags can simply be cut by hand, no complicated tools needed.

Pin It

Friday, August 17, 2012

Flag Bouquet Birthday Card

Pin It


Just a simple card, using toothpicks and paper scraps.

Since I don't have baker's twine, I twisted two pieces of embroidery floss together.

Easy, and fun to make...

Pin It

Monday, June 11, 2012

Free Father's Day Printable - Scallop Tags

Pin It


With Father's day around the corner, 
I decided to create these scallop tags.

Use these free printable scallop tags to create cards, make cupcake toppers, decorate crafts, for scrapbooking, etc. 

When the page is printed full size (8.5 by 11), 
the scallops can be punched out with a 1 3/4 inch punch.

For personal use only.

Enjoy!

Pin It

Handmade Graduation Cards

Pin It

In the past couple weeks I made several graduation cards.
Here are some pictures, and links to their tutorials.

What I like about all of these,
is that you don't need any special 'graduation-themed' tools,
like stamps, punches, etc.

In all cases, some cardstock, a few basic tools and adhesive is sufficient.

They are gender neutral, and simple, but fun.

The following card is folded from black cardstock,
and shaped like a graduation cap.

Instructions can be found HERE.


The next card is one I came up with 2 years ago:


Instructions can be found HERE.


And my favorite,
with a pop-up graduation cap hidden inside: 
It's kinda hard to take pictures of this one, the card folds completely flat, 
and on the inside that whole cap folds out once opened. 
Pretty neat if you ask me!

The person who designed it gives a pattern and good instructions:
Instructions can be found HERE.

Pin It

Friday, February 24, 2012

Digital Scrapbooking & Cards Offer with Mixbook - Great deal!

Pin It

If you have been following my blog for a while,
you know that I like a LOT of different crafts.

One of the things that I really like to do,
but unfortunately don't have much time for,
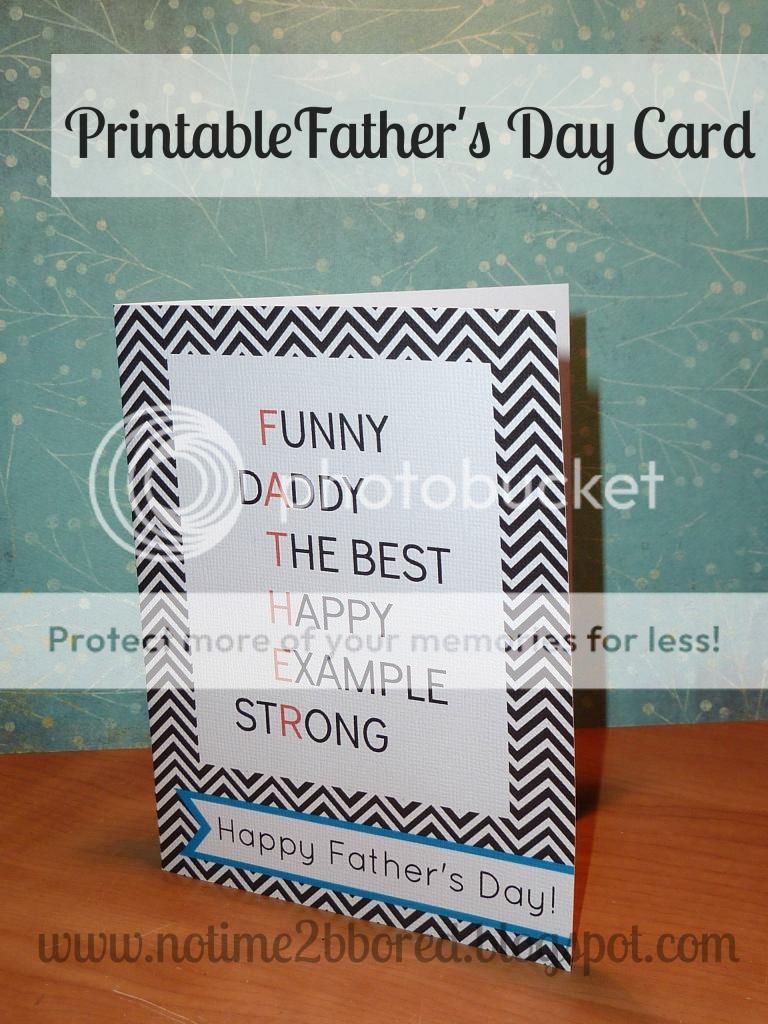
is scrapbooking.

I have boxes full of pictures to be scrapped...

Last year I got an offer to try out Mixbook,
and make a free digital scrapbook.

I thought I wouldn't like it, 
since I am sort of a hands-on person.

I was WRONG. 
There is still so much 'freedom', you can use ready-made books, 
but you can also change the elements on the pages around, or completely do your own thing.

I just loved how fast that book came together.
Also, unlike other programs, I love their backgrounds, stickers, etc.
You can combine different themes, so you don't need to make a one-theme album.

Their site is very user-friendly.

I was very happy with the finished product.

Books, Calendars, Cards (Picture - Mixbook)

So when I saw this Groupon deal,
I was really excited.

Pay $15 for $50 of products, that is a very good price.
For terms and conditions, check the fine print on the site.

And if you use the link I provided, I might get credit for it. Thank you ;)


You have more than 3 days from the date I posted this.
If you don't see it show up as the main offer, 
check on the right where it states 'More great deals'.

Pin It

Monday, February 6, 2012

Lovely Cards

Pin It


This weekend I attended a fun workshop at a friend's house.
It has been a while that we did something like that, and I really enjoyed it!


We made these awesome cards, demonstrated by Penny.
You really have to check out her blog Stamps'N'Smilesshe is so talented and creative!


Not only did we make cards,
we also made this cute little box that holds some chocolates.


Loving all of it!


Pin It

Monday, January 23, 2012

You are a-MAZE-ing: free Valentine Printable note cards

Pin It

This year, we are making these Valentines:


Miniature heart-shaped mazes, attached to a card with the text
"You are a-MAZE-ing"

I didn't come up with the idea myself, I saw it here.

When I happened to see little heart-shaped mazes at the Dollar Tree, I just had to have them :)


Fortunately, my daughter liked the idea, too...

I made little cards to go with them in Word.
We printed them on textured card stock.


We used adhesive tape to attach the hearts to the little card.


We rounded the corners with a corner punch, and added the adhesive. 
In the picture below you can see a strip of adhesive if you look well...
The hearts can simply be put on it, the mazes stay in place, but can be taken off without glue sticking on the back of them.


Simple and cute...


It took me some time to figure out how to line them all up so that all cards would be exactly the same size (I am kinda compulsive that way, they just all HAVE to be exactly the same). 
I decided to share the document in case someone out there wants to use it, too.

Click on the following link to download the free PDF document
FREE "You are a-MAZE-ing" DOWNLOAD


Nine small cards print on a 8.5 by 11 size sheet.
Make sure you change the print settings in Adobe Reader where it says "Page Scaling" to "None".

The backs can be personalized. (Before the hearts are attached.)

The small cards could also be glued to a bigger sized card.

Enjoy!
Pin It

I linked up to Sugar Bee Crafts

Pin It

Tuesday, December 20, 2011

Snowflake Card and Gift Card Holder

Pin It


I just made these cards and a gift card holder.

I used the Silhouette Cameo to cut out the gift card holder, and then used a traditional snowflake punch to punch out a snowflake.

I glued some turquoise cardstock under the lid, and trimmed it with scissors, just following the shape of the box.


For the cards I used my good old Big Shot. 
I still love that one, too.

I used an embossing folder to emboss the snowflakes,
and a die to cut out the snowflake.


Am trying to decide which version I like better,
if you look closely, there is a difference.

On the left, the kraft cardstock is debossed (imprinted),
on the right it is embossed (snowflakes are sticking out).

Pin It

Monday, May 9, 2011

It's a party - Party invites

Pin It


Although we have celebrated a lot of birthdays at our house, this one is a first for me and my 6-year old:
a birthday party with only Kindergarteners. 

They are all girls, and my daughter and I decided to go for a flower-theme again.

I kept the invites pretty simple, by printing the text on the front and the inside, and then used a stamp for the stem and punches to make the flowers.

Simple but sweet...

Pin It

Wednesday, June 9, 2010

Button Owl Tutorial

Pin It

After making 2 versions of the button bird , I decided to try something else. Since I really like owls, that's my next button creation!

You will need the following paper pieces and buttons as shown in the picture above. I used punches to create these shapes, but you could also cut your own.
Arrange the buttons and feet as shown in the picture above. Adhere. I used foam tape for the buttons, that works especially well if the buttons have a center that is lower than the rest of the button. Also, please note that the top button will be covered up completely, so it doesn't really matter what color it is.
Glue the 2 raindrop shapes together to form the head and adhere to the top button.
Add the beak, eyes and belly.
I thought he was missing something, so I gave him wings.
And then I suddenly thought he could use a branch to sit on. So I went to the yard and collected some small twigs... Then I needed to make another pair of feet, since these needed to be glued on top of the branch.
Then, I added a flower to the branch.

I really like the end result. This would be so cute as a card, for a scrapbook page(although I don't think the twig is acid-free...), in a picture frame as wall art, or glued on the frame itself to make a cute picture frame, or ...

What do you think?

I linked this up to:


Pin It

Graduation Card

Pin It


It's graduation time again, and I realized I don't have any graduation-themed stamps or paper. So, I decided to see if I could come up with a simple graduation card, using supplies I had on hand. I liked how simple it was, and decided to take some pictures so that I could make a tutorial.
You are going to need the following supplies:

1. foam tape
2. black diamond shape (cardstock or shiny paper)
3. black circle shape (same material as item 2)
4. brad
5. (white) cardstock, folded in half (this will be your card)
6. a sheet of (black) paper, slightly smaller than 5
7. strip of (silver) paper
(I embossed items 5&6 using my Cuttlebug embossing folders, but you could also use patterned paper or cardstock.)
8. piece of white paper
9. silver colored yarn

Tools:
  • adhesive
  • paper trimmer
  • scissors
  • needle or other piercing tool
First, assemble the card, as shown in the picture above.Then, cut the circle as pictured above.
Use a needle or other tool to poke a hole in the center of the diamond.
Put the brad in the center of the diamond. Use the foam tape to adhere the diamond to the shape that used to be the circle.
Roll the piece of paper to create the diploma, put a little bit of adhesive on the edge to make sure it doesn't unroll itself. Tie the yarn around it. Trim if necessary.
Use adhesive (I used Glue Dots here) to adhere the diploma and cap to the card.

This worked great, since I didn't need any special supplies or tools to create this card.

Also, the material I used for the cap is just the package that the embossing folder that I used came in. It was nice, shiny and sturdy cardstock, so I thought that would look pretty good. (Good thing you can't see that there is text printed on the back - I assume the graduate won't take my card apart...)

The string I used to tie the diploma is ribbon that was wrapped around a gift.

I always like to see how I can turn 'ordinary' things into craft supplies :)

I linked this up to:


Show and Tell Green

Pin It