I love fall and decorating for fall!
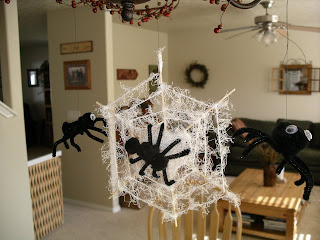
We made these spiders and the spider web a couple years ago,
and since the kids love them so much,
we have used them every year since!

Some outside decorating, too.


 I was washing some clear plastic cups to put in our recycling bin, but then it occurred to me that I could use them for a cute little craft. So instead of throwing them away, I kept them.
 The containers I used were empty containers from Crystal Light and yogurt.
 Wash and dry the containers thoroughly.
 Trace the top of the container onto cardstock.
 Fill the container with beads. I put bigger beads (for smaller hands) in the big cup, and small beads in the small Crystal Light cup.
 Then, I added some pipe cleaners to the big cup, and different lengths of wire to the small cup. I found that pipe cleaners work GREAT for little kids. Once the bead is on there, it doesn't tend to slide off so easily.
 Next, I decorated the cardstock circles I cut.
 I used Elmer's white school glue to attach the lids to the cups.


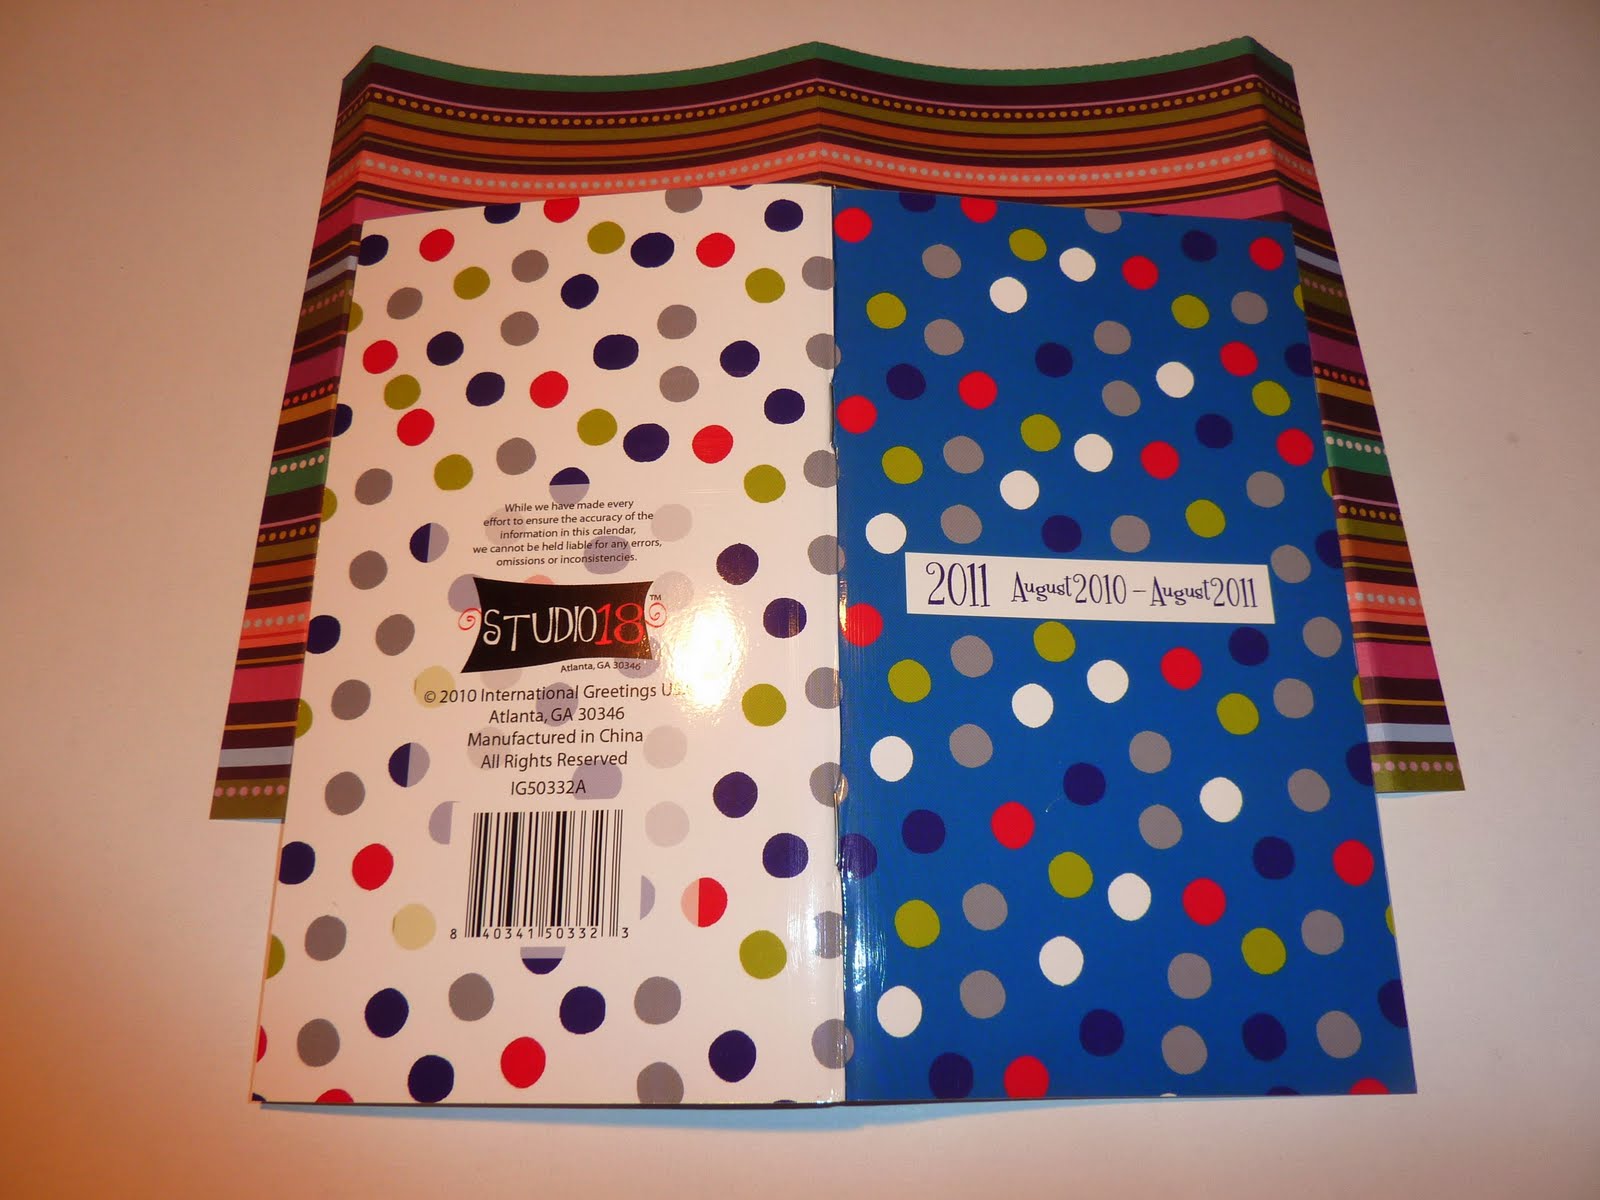
 I like to have one of these little pocket calendars in my purse, so that I can keep track of appointments and stuff when I am on the go. This one was pretty plain, so I thought I'd give it a make-over. It's fast, fun and easy, and this is what I came up with: