Showing posts with label kids crafts. Show all posts

Friday, November 22, 2013

Turkey Napkin Rings or Place Cards for Thanksgiving

Pin It


These turkey napkin rings are fun to make and a cute addition to your Thanksgiving table.

You could also attach a name tag so that they will serve as a place card.


I used punches to punch out the pieces, but you could go with basic, hand-cut shapes as well.
You just need some basic supplies: cardstock, googly eyes, scissors or punches, and adhesive. I used a black pen to outline the pieces for some added interest.

You can assemble these yourself, but it also makes a fun kid craft.


I made these 5 years ago, long before I was blogging, and was just reminded of them, so I decided to share them...

This is how they looked on the table: see if you can find them, they're pretty small compared to that big table (which isn't ours - we celebrated Thanksgiving elsewhere).


Pin It

Friday, February 8, 2013

Valentine Pencil Flags - Easy handmade Valentines (Free printable)

Pin It


Do you need a fast and easy, but cute Valentine?

You've come to the right place!

The colorful text on these flags wishes you a Happy Valentine's Day,
while on the back there is room for the giver to write their names.

They're fast to make, and your kids can help, or they could even do it.


You can use Valentine pencils, or any other kind of pencil would work.
We picked plain ones for the boys and patterned ones for the girls...


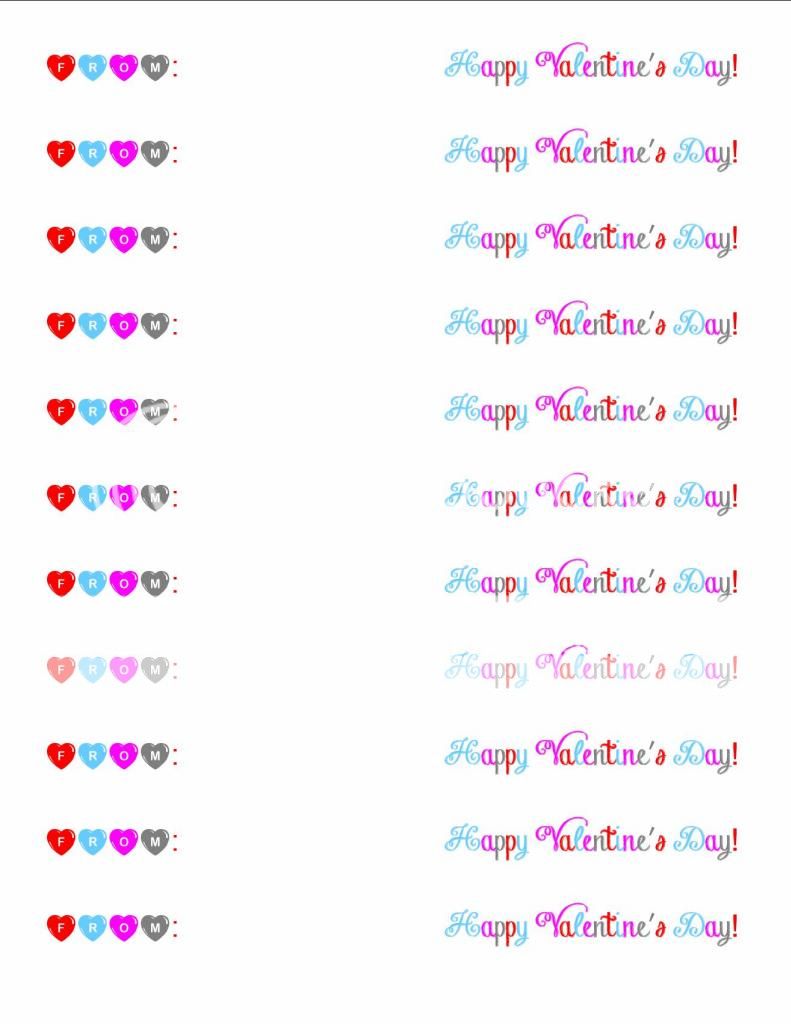
Below you see the sheet you're going to print out.

One page makes 11 flags.

You can print on regular printer paper, 
colored cardstock, or scrapbook paper...


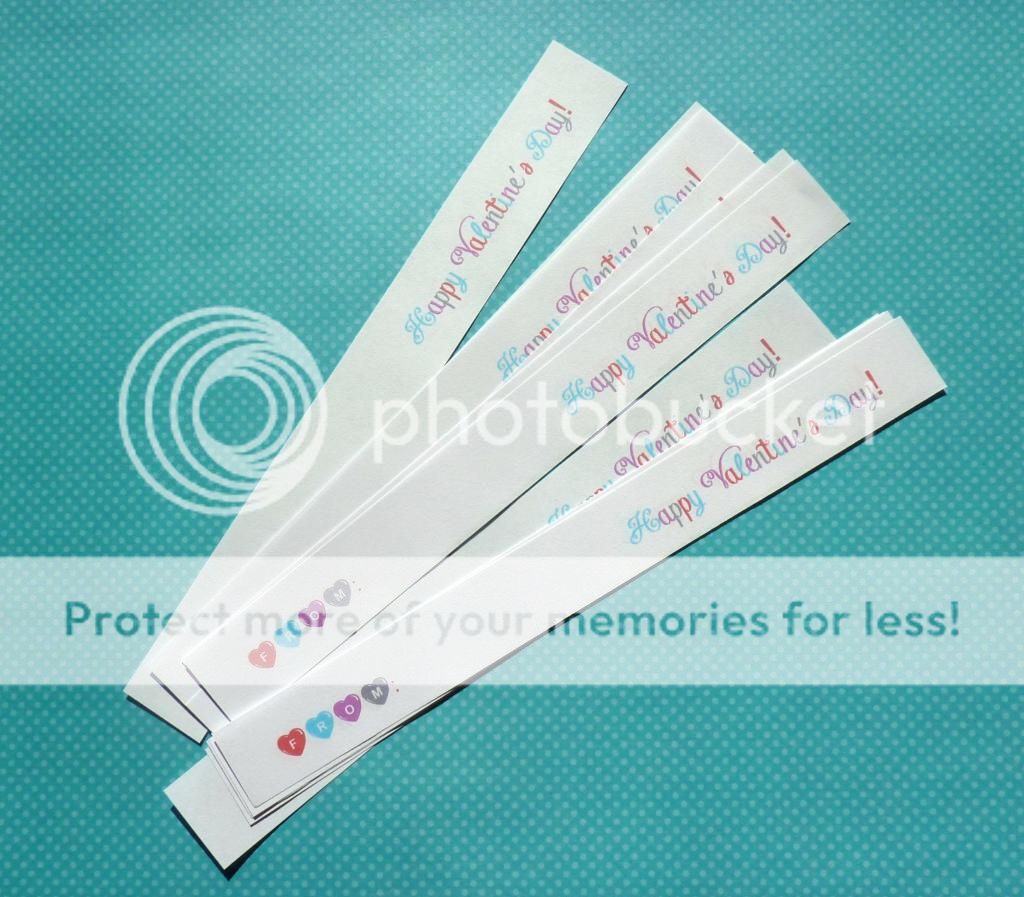
Use a paper trimmer or scissors to cut the page in strips, 
as pictured below.


Let your child fill in his or her name at this point, before they are attached to the pencils.


Use a glue stick to put glue on the strip. 
You don't need to put it on the whole strip, but make sure to put it a little further than the center of the strip. 
(So I mean more than half of the strip has glue on it.)
Hmmm, does that make sense?
This will make sure that the flag stays in place.


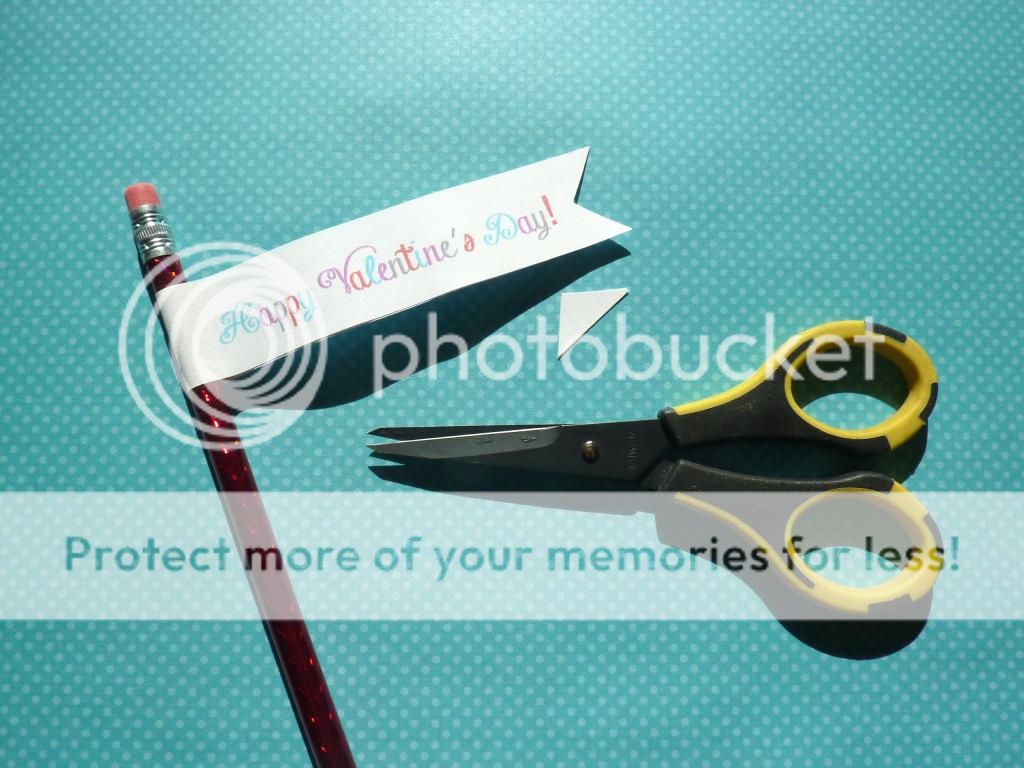
Cut out a little triangle.


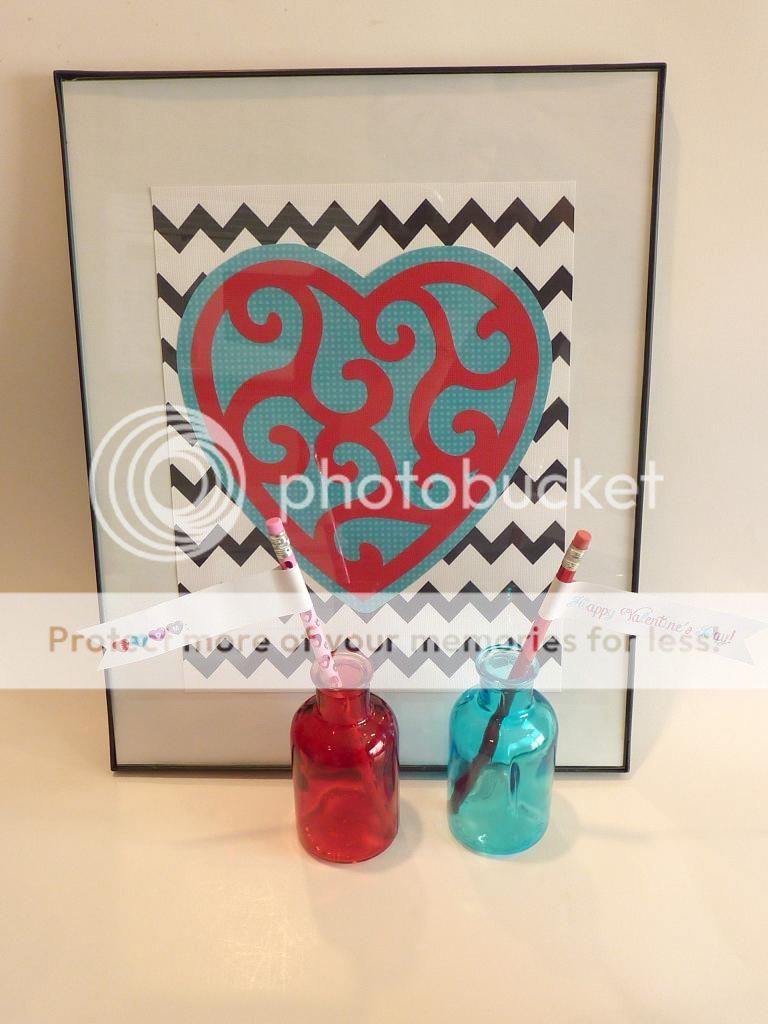
And that is all!

Simple, right?!

My girls are excited to give these to their classmates on Valentine's day!


Enjoy!


Pin It

Thursday, June 28, 2012

Homemade Playdough - no cooking required

Pin It


I have been wanting to make some playdough using Kool-aid drink mixes.

So I got 5 cheerfully colored mixes in the store. When I got home, I only had 3...

I looked everywhere, but the two missing ones where nowhere to be seen.

So we just made 3 different colors.

(Of course a few days later I found them: in the fridge, tucked in between some other things I got that day in the store...)


It is simple, and SO fun.

I MUCH prefer the texture over the store-bought version, and my girls just loved the fruity smell of it. 
It's also nice to know all the ingredients.

Ingredients:

1 1/4 cups all-purpose flour
1/4 cup salt
1 Tbsp. Cream of tartar
1 cup boiling water
1 1/2 Tbsp. oil
 Several packages Kool-Aid Unsweetened Drink Mix

In a large bowl, mix the dry ingredients.
Then, carefully add the boiling water and the oil.

Stir well with a fork, and once it has cooled down (which is pretty fast), knead it well.

Divide the dough in as many portions as the number of colors you want to make.

Add Kool-aid little by little to each portion and knead, till you made the desired color.

This last step is something that my girls really enjoyed.

This made a pretty good batch, we were able to fill six containers:
(I only pictured 3 here)


I used empty baby food containers, 
and put some Wrap&Seal over it too keep it air tight.

It seems to work well to keep the dough soft.

I will definitely try this again!

My kids had fun playing with this, and I thought it would also make a cute party favor or small handmade gift.

I linked up with Craft-o-maniac.


Pin It

Monday, June 11, 2012

Free Father's Day Printable - Scallop Tags

Pin It


With Father's day around the corner, 
I decided to create these scallop tags.

Use these free printable scallop tags to create cards, make cupcake toppers, decorate crafts, for scrapbooking, etc. 

When the page is printed full size (8.5 by 11), 
the scallops can be punched out with a 1 3/4 inch punch.

For personal use only.

Enjoy!

Pin It

Monday, January 23, 2012

You are a-MAZE-ing: free Valentine Printable note cards

Pin It

This year, we are making these Valentines:


Miniature heart-shaped mazes, attached to a card with the text
"You are a-MAZE-ing"

I didn't come up with the idea myself, I saw it here.

When I happened to see little heart-shaped mazes at the Dollar Tree, I just had to have them :)


Fortunately, my daughter liked the idea, too...

I made little cards to go with them in Word.
We printed them on textured card stock.


We used adhesive tape to attach the hearts to the little card.


We rounded the corners with a corner punch, and added the adhesive. 
In the picture below you can see a strip of adhesive if you look well...
The hearts can simply be put on it, the mazes stay in place, but can be taken off without glue sticking on the back of them.


Simple and cute...


It took me some time to figure out how to line them all up so that all cards would be exactly the same size (I am kinda compulsive that way, they just all HAVE to be exactly the same). 
I decided to share the document in case someone out there wants to use it, too.

Click on the following link to download the free PDF document
FREE "You are a-MAZE-ing" DOWNLOAD


Nine small cards print on a 8.5 by 11 size sheet.
Make sure you change the print settings in Adobe Reader where it says "Page Scaling" to "None".

The backs can be personalized. (Before the hearts are attached.)

The small cards could also be glued to a bigger sized card.

Enjoy!
Pin It

I linked up to Sugar Bee Crafts

Pin It

Tuesday, January 17, 2012

Heart Tree Tutorial

Pin It


It's no secret that I love quick, cheap and easy projects.
Here is another one.

It adds some instant color to our living room and is perfect for Valentine's day.

I took some pictures as I was making it...

Ready to make your own?


First, I cut a bunch of hearts out of cardstock with my Silhouette Cameo. I love how easy it is, just let the machine do its job...

No need to use a machine, though, you could cut them by hand, too. There are so many options: you could use cardstock, scrapbook papers, gift wrap, fabric, you could glitter it up with glitter glue, etc. If you like the lace look, you could cut heart shapes out of lace doilies for example. 


Other supplies you will need:

* Branches, look for ones with lots of little side branches 
* A vase or pot to put your branches in
* A stabilizer (to stick the branches in, you could use floral foam, or even newspapers would do)
* Thread to hang the hearts with
*Something to cover up the stabilizer (I used red yarn, you could use moss, raffia, Easter grass etc.)


Put the stabilizer in your pot.


Arrange the branches


Cover up the ugly stuff...


Attach strings to hearts. I punched holes in the ones that didn't have an opening of some kind, you could use a needle or pushpin to create a hole if needed. Pull the string through, and tie the ends.


Lots of them...


Put them in your tree.


And find a spot to display your heart tree!


Pin It

Tuesday, January 10, 2012

About birds and green pigs...

Pin It

Today we made these birds and pigs, to create our own game.

My girls were SO excited to make this, and I was surprised how patiently they made their pom poms. 

It was a super simple project!

I had already seen it on some blog a while back, when my kids weren't infected by the bird-bug yet.

So today, while my oldest had to stay home from school with a bad cold, this seemed the perfect craft to tackle.


I had all materials on hand, just some yarn, felt, googly eyes and cups.
The kids did good making the pom poms, and I handled the hot glue gun to glue it all together.
At first I had them make the pom poms with a single strand of yarn, but I found out it was quicker and easier to just "fold" the yarn so that they wrapped their disks with four strands at once.

And after we were done creating, they could start playing.

This made for some happy little girls!


I linked up to It's our long story.

Pin It

Saturday, November 12, 2011

Guess what this is...

Pin It


Can you guess what is pictured here?

It kept my two oldest girls entertained for quite a while...

I saw the idea somewhere online,
and thought it was brilliant
(both literally and figuratively)

Simple, but so much fun!

Even before they started playing, they asked if they could do it another time!

Anyway, this is what you are looking at:


Glowsticks in the bathtub = lots of fun!!!

Pin It

Tuesday, September 27, 2011

Looks like watercolors! - Fun quick kids' craft

Pin It

The other day I was watering plants, and I accidentally dripped some water on one of my daughter's artworks. Since their creations need to be treated with respect, or so they think, I put it on the kitchen counter to dry. And then I convinced her that I liked it almost even better this way:


It had sort of a water color look. My girls were really excited about it and thought it looked like they painted it!

So we felt like we 'invented' a new craft by accident!

We took some coloring books, just those made with that ugly grey-ish paper.

They picked a favorite picture, and colored it with markers.


Then we sprayed it with a water bottle.


And let it dry...

(We put it outside in the sun.)


Just a fun, quick little craft, and it looks like they painted, without the mess.

Pin It

Sunday, June 12, 2011

Flower Party

Pin It

With a newborn in the house, I am sort of behind with pictures, but just thought I'd share some pictures to show what we did at the birthday party we had for our oldest!


Some cupcakes for her classmates and our family birthday party...


And different ones for the kids' party...


Party favors  


With tags that match these party invitations


More party favors that double as decoration


Little purses to decorate ...

with rubber stickers


 We made our own party leis...


with flowers I punched out of tissue paper with my BigShot and straws...

Pin It