Showing posts with label kids activity. Show all posts

Saturday, July 13, 2013

Free Printable Birthday Bubble Wrappers

Pin It

Bubbles make a great party favor for summer birthdays.


These wrappers fit around a standard size bottle of bubbles.

After I printed them, I just cut them, glued them around the bottle,
and then I covered the labels with clear packing tape to make them water-proof.


Today I am sharing these free printable wrappers with you!


Go HERE to download the free printable PDF-file.

Pin It

Friday, February 8, 2013

Valentine Pencil Flags - Easy handmade Valentines (Free printable)

Pin It


Do you need a fast and easy, but cute Valentine?

You've come to the right place!

The colorful text on these flags wishes you a Happy Valentine's Day,
while on the back there is room for the giver to write their names.

They're fast to make, and your kids can help, or they could even do it.


You can use Valentine pencils, or any other kind of pencil would work.
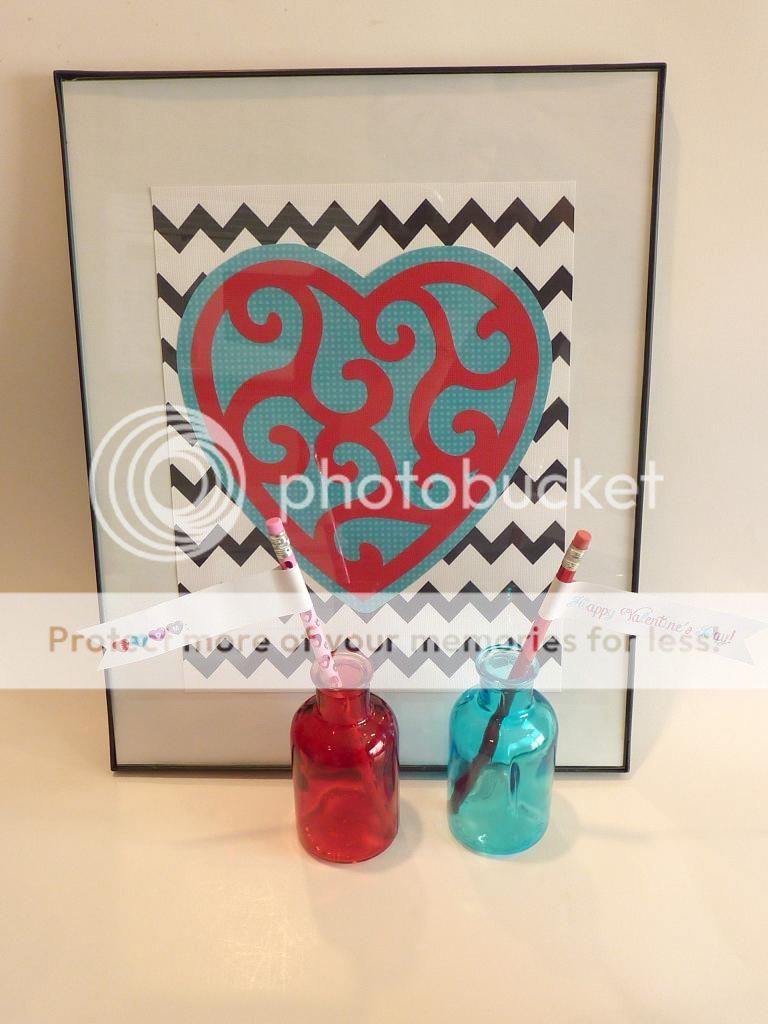
We picked plain ones for the boys and patterned ones for the girls...


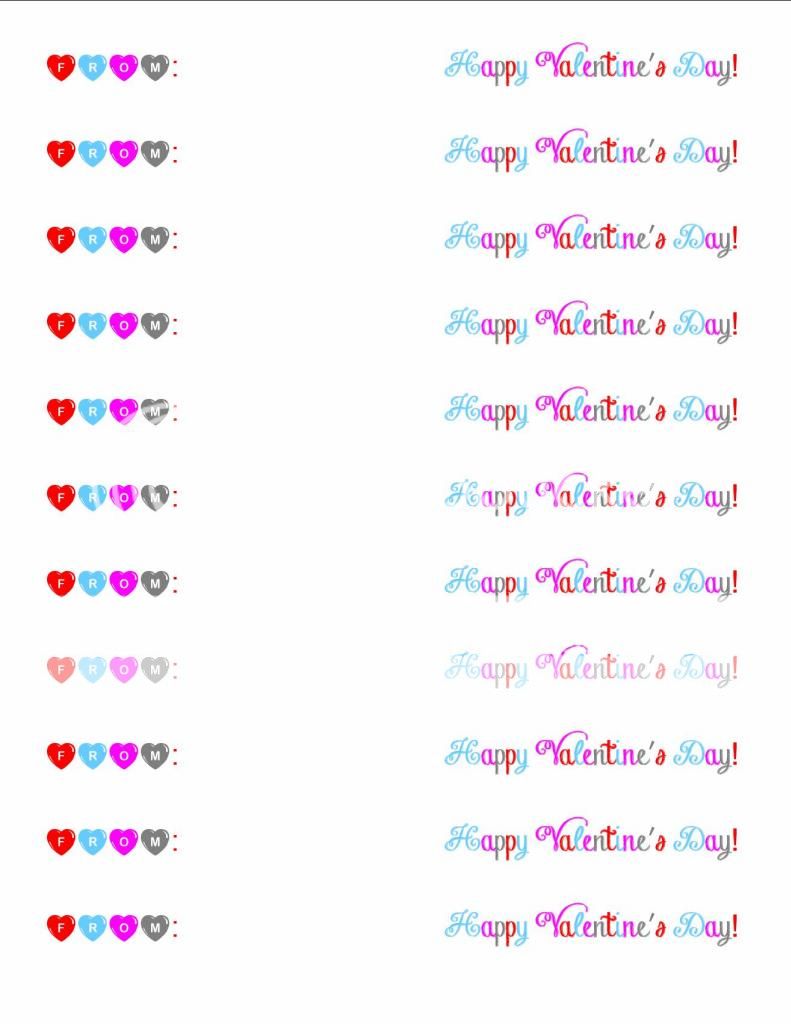
Below you see the sheet you're going to print out.

One page makes 11 flags.

You can print on regular printer paper, 
colored cardstock, or scrapbook paper...


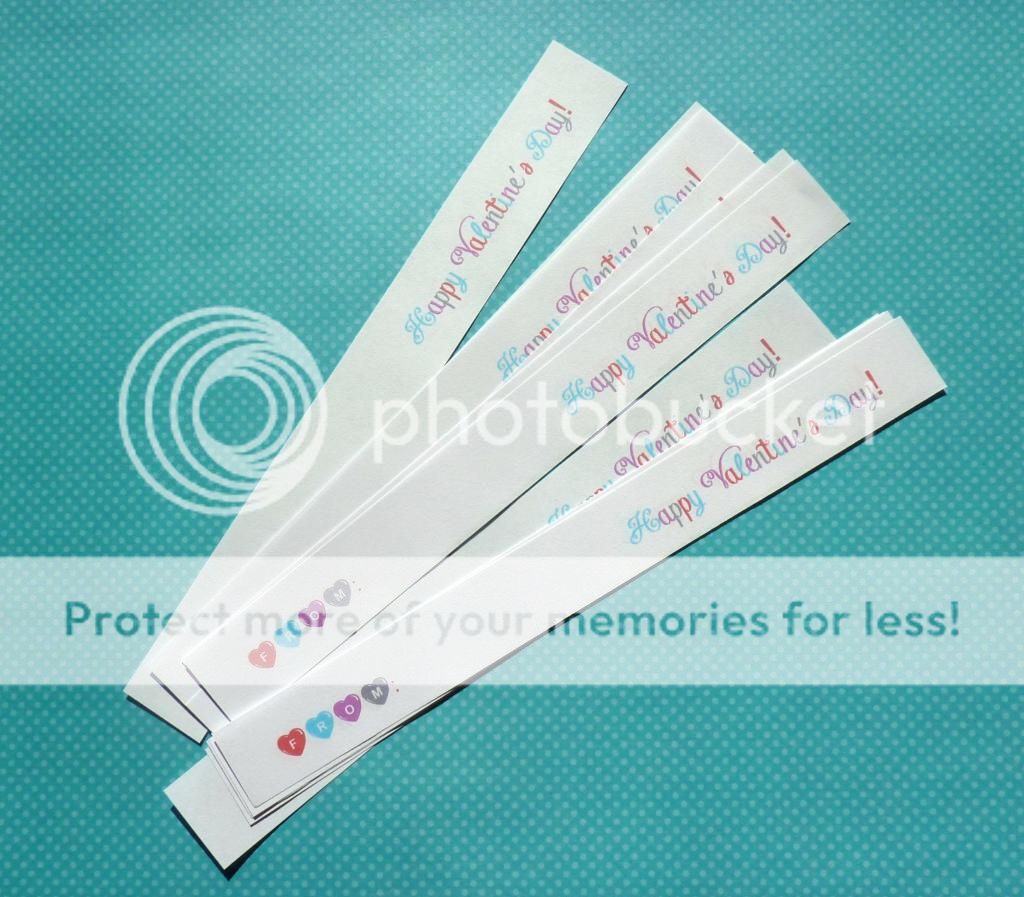
Use a paper trimmer or scissors to cut the page in strips, 
as pictured below.


Let your child fill in his or her name at this point, before they are attached to the pencils.


Use a glue stick to put glue on the strip. 
You don't need to put it on the whole strip, but make sure to put it a little further than the center of the strip. 
(So I mean more than half of the strip has glue on it.)
Hmmm, does that make sense?
This will make sure that the flag stays in place.


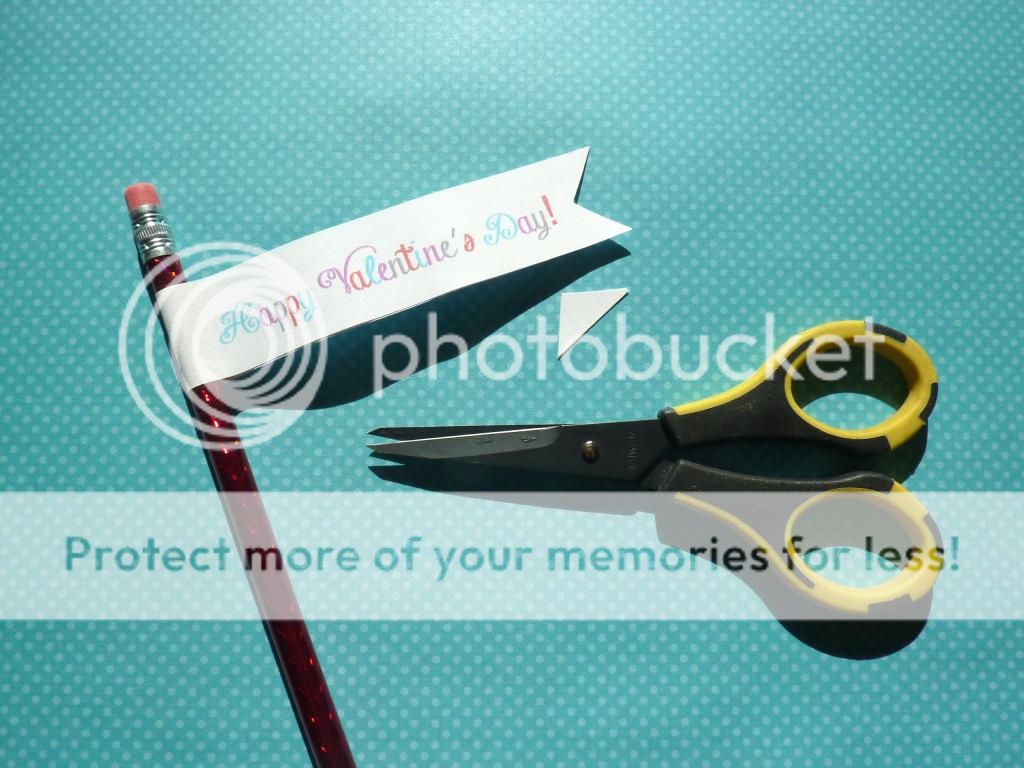
Cut out a little triangle.


And that is all!

Simple, right?!

My girls are excited to give these to their classmates on Valentine's day!


Enjoy!


Pin It

Thursday, June 28, 2012

Homemade Playdough - no cooking required

Pin It


I have been wanting to make some playdough using Kool-aid drink mixes.

So I got 5 cheerfully colored mixes in the store. When I got home, I only had 3...

I looked everywhere, but the two missing ones where nowhere to be seen.

So we just made 3 different colors.

(Of course a few days later I found them: in the fridge, tucked in between some other things I got that day in the store...)


It is simple, and SO fun.

I MUCH prefer the texture over the store-bought version, and my girls just loved the fruity smell of it. 
It's also nice to know all the ingredients.

Ingredients:

1 1/4 cups all-purpose flour
1/4 cup salt
1 Tbsp. Cream of tartar
1 cup boiling water
1 1/2 Tbsp. oil
 Several packages Kool-Aid Unsweetened Drink Mix

In a large bowl, mix the dry ingredients.
Then, carefully add the boiling water and the oil.

Stir well with a fork, and once it has cooled down (which is pretty fast), knead it well.

Divide the dough in as many portions as the number of colors you want to make.

Add Kool-aid little by little to each portion and knead, till you made the desired color.

This last step is something that my girls really enjoyed.

This made a pretty good batch, we were able to fill six containers:
(I only pictured 3 here)


I used empty baby food containers, 
and put some Wrap&Seal over it too keep it air tight.

It seems to work well to keep the dough soft.

I will definitely try this again!

My kids had fun playing with this, and I thought it would also make a cute party favor or small handmade gift.

I linked up with Craft-o-maniac.


Pin It

Thursday, May 24, 2012

Propeller seeds: fun and easy kids activity

Pin It

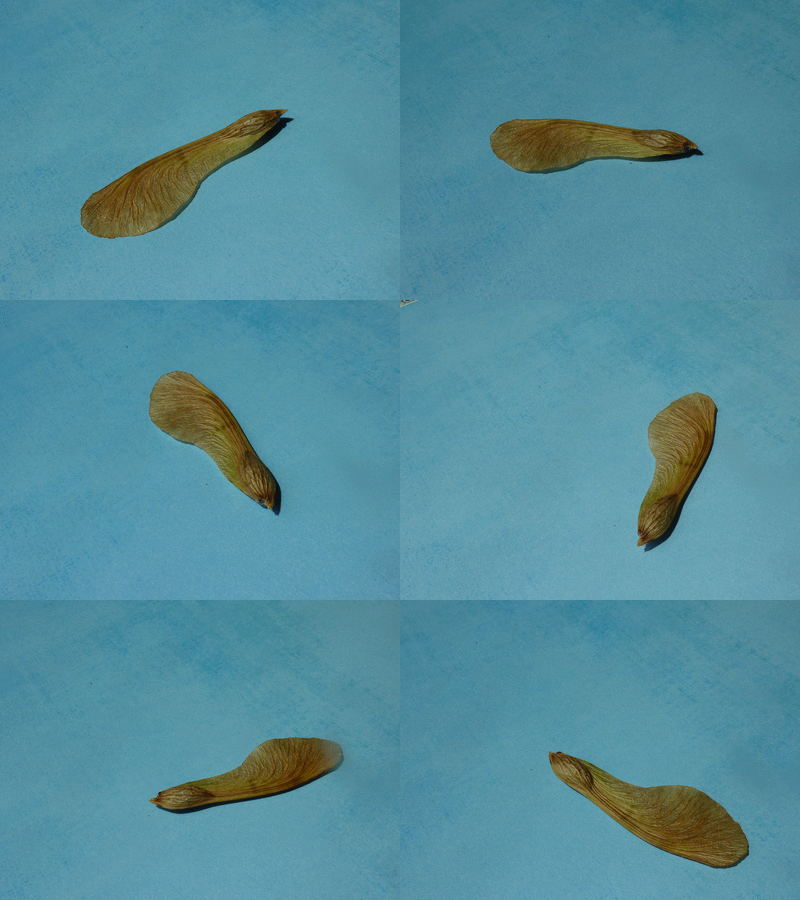
Last week, on our walk home from school,
my girls saw these 'propeller seeds', and asked me what they were.

I told them they came from a tree,
and showed how you can throw them in the air,
and see them spin like a propeller.

They thought it was the coolest thing ever.

So we collected some and took them home.


They had such a good time playing with them.

pictures to gif

SOOO nice when kids are so easily entertained...


I told them that these were actually seeds, and that the wind helped new trees to grow when the seeds were planted elsewhere. I realized they understood, since my 7-year-old said: "Just like dandelions..."


We decided to plant some of the seeds.
I wasn't sure if we should stick the whole thing in the dirt, or peel the seeds out, so we did both.


Today it's exactly ONE week later, and we have this:

So our little experiment was very successful...


And I have 2 very proud girls, who check on the progress daily.


We might transfer some to our yard even...

Pin It