Showing posts with label paper crafting. Show all posts

Friday, November 22, 2013

Turkey Napkin Rings or Place Cards for Thanksgiving

Pin It


These turkey napkin rings are fun to make and a cute addition to your Thanksgiving table.

You could also attach a name tag so that they will serve as a place card.


I used punches to punch out the pieces, but you could go with basic, hand-cut shapes as well.
You just need some basic supplies: cardstock, googly eyes, scissors or punches, and adhesive. I used a black pen to outline the pieces for some added interest.

You can assemble these yourself, but it also makes a fun kid craft.


I made these 5 years ago, long before I was blogging, and was just reminded of them, so I decided to share them...

This is how they looked on the table: see if you can find them, they're pretty small compared to that big table (which isn't ours - we celebrated Thanksgiving elsewhere).


Pin It

Wednesday, July 3, 2013

Red, white and blue flowers and pinwheels

Pin It

I have a ton of pictures on my computer of things I made in the past weeks (or months even).

Just not much time to post them.

But thought I'd share a couple things I made this week...


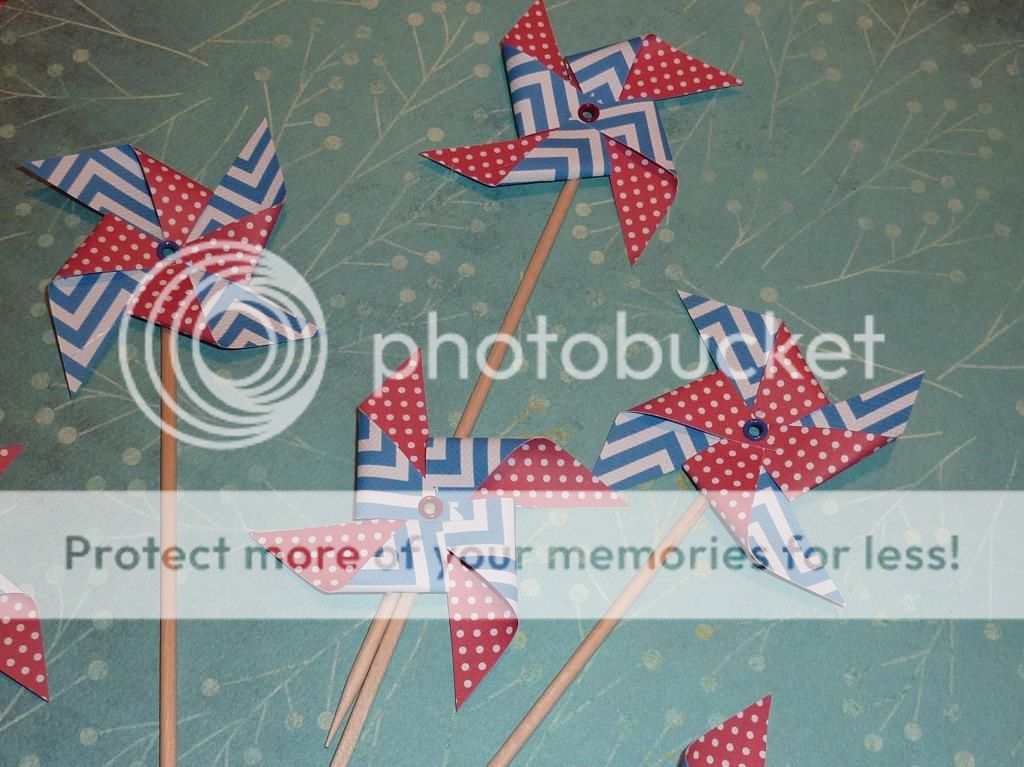
Some patriotic pinwheel cake toppers.
So simple, but festive and cute...


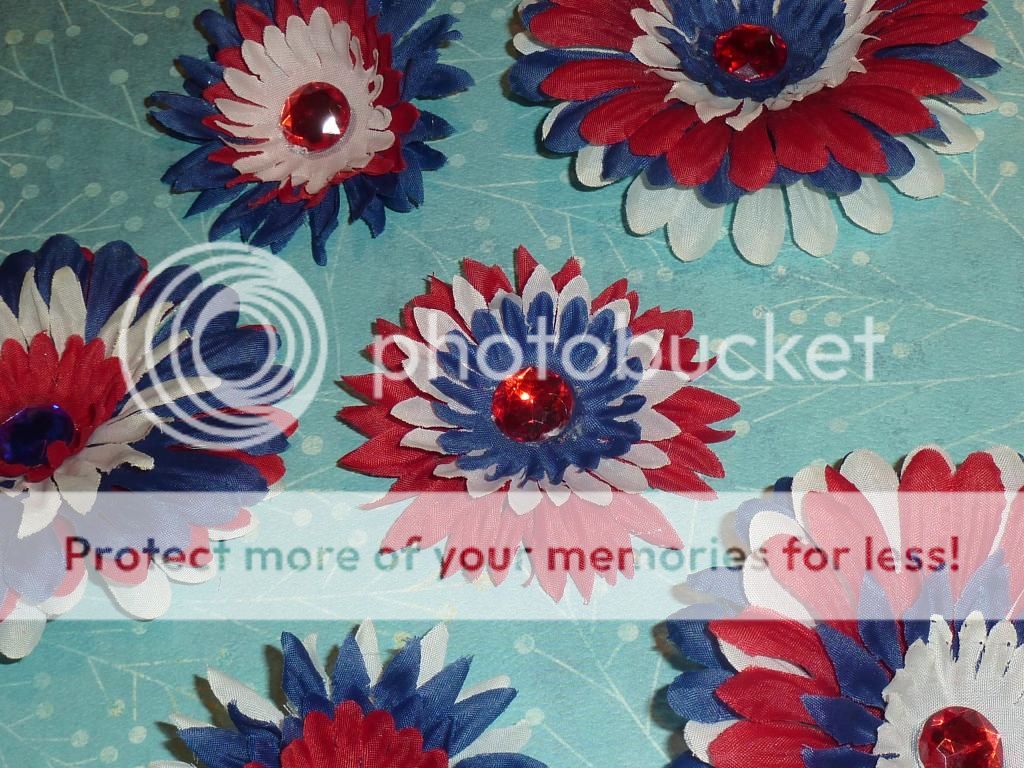
And some red, white and blue hair clips.
We just disassembled a bunch of plain flowers, and re-assembled them in colorful combinations.

Happy 4th of July!


Pin It

Friday, December 7, 2012

Washi Tape Candle Holder and Candle - Fast, Pretty & Easy

Pin It


This HAS to be one of the fastest, easiest crafts I ever made...

I decided to share, since it's fun to make, and it can be used for gift giving, or just keep it for yourself...


I found this beautiful tape at Michaels.

I remembered seeing somewhere online where people were decorating candles or candle holders with Washi tape.

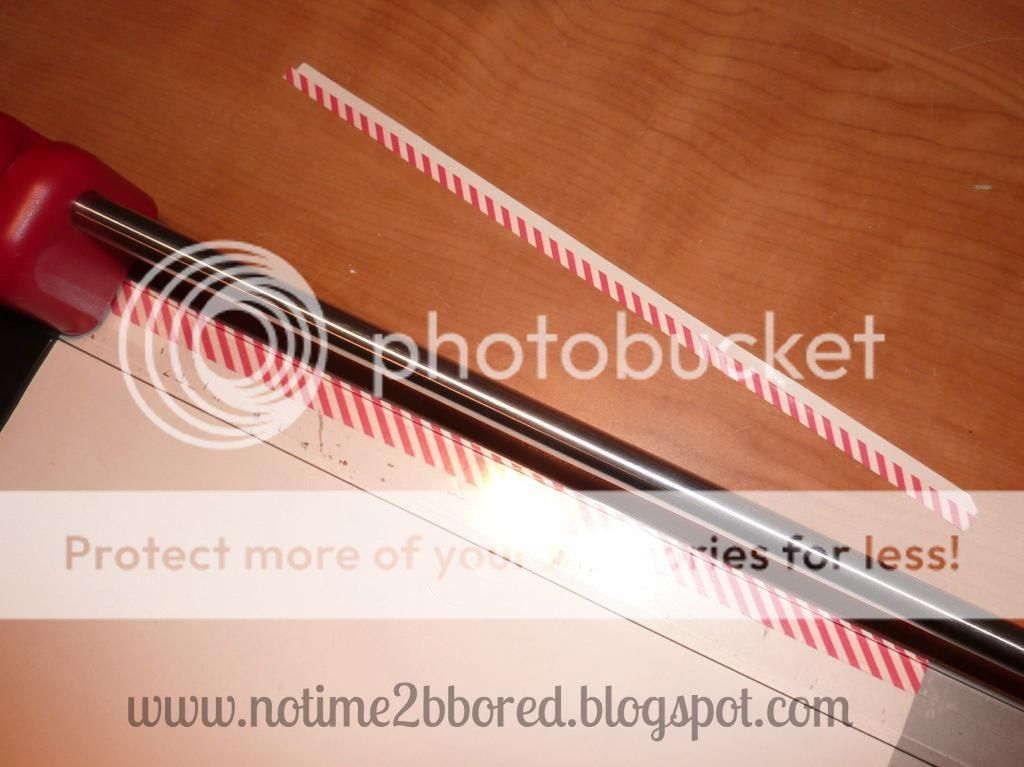
I wanted to use only a thin strip of the red and white striped tape, 
so I stuck it onto the backing sheet of a sticker sheet,
and trimmed it with my paper trimmer.


Then I just put it around a glass jar.

You can use store-bought canning jars, windlights, or just use an empty jam jar like I did...


In order to make the tealight match, I put some tape around that, too.


Simple, but lovely...


I really like the candy cane tape,
the colors, and the cute border, and also like how well it goes together with the narrow piece of candy-cane striped tape.

So if you don't have much time,
but still need to do some decorating,
or if you need a simple gift,
now you know what to do!

If you're looking for more handmade gift ideas,


Shared at Craft-o-maniac and Sugar Bee Crafts.

Pin It

Saturday, December 1, 2012

Pennant Banner Card

Pin It


When my sewing machine is already sitting out, and  it's ready for a new needle,
I like to use it for stitching cards.

This simple card with a colorful pennant banner can be adjusted and used for different occasions.

Even without stickers or stamps it's still cheerful, and the flags can simply be cut by hand, no complicated tools needed.

Pin It

Monday, November 12, 2012

DIY Owl Nursery

Pin It


I'm excited to show you the newly decorated nursery of our youngest!


Her room is pretty small, so it was a challenge to use all my ideas,
without making it too crowded.


I bought some owl wall decals quite a while ago, 
intending to use them for her room.

But somehow I never got around to actually putting them to use.


Then, my husbands mom reminded me that she was going to make our daughter a baby quilt.
She has this amazing tradition to make every grandchild a special quilt.
And you should know that she already has 9 grandkids!

Anyway, she always lets us moms give input:
we can pick a pattern, or colors, or theme, whatever...

So I told her I really liked owls, and showed her these owl decals.

She found a neat pattern that I really liked. 
I thought it would be hard to find fabric that would match the owls, 
since there were so many colors.

But we found the neatest fabric line,
matching the colors of the owls,
 and she made the most amazing quilt:


Needless to say I was in awe when we saw it!!!
Our youngest likes the cheerful colors too and likes to play with it :)


I got the leftover pieces so that I could decorate some more,
and I bought extra fabric for some bigger pieces.

And that was the little push in the back I needed to start working on this room...


I really like to use embroidery hoops to display some pieces of pretty fabric.
I also like the way it creates different sized 'dots'.


I used some small scraps to decorate a plain wipe box:


Remember these owls?

They finally got a home in this shelf, 
that I found at the thrift store.

I gave it a fresh layer of paint while I was painting the wall...


Some more close-ups...

I wanted to incorporate a little chevron, 
without it being too overwhelming:


You can find the tutorial to create this chevron picture frame HERE.

And some simple embroidery on one of the embroidery hoops:


I framed the print you can find here.


And I made a pennant banner, to showcase all these pretty fabrics.
I really like banners for kids' rooms,
they are so cheerful!


A matching pillow for the rocker.


A personalized canvas, with an owl, pictures of the fabric, 
and her name (which I took out for privacy purposes).


And, a canvas made with scrapbook paper.


I am happy with the results, it is both cheerful and relaxing at the same time.
I would almost like to trade rooms with her...


I am planning on putting up tutorials on some of the items I made once I have time to do that.


Shared at Sugar Bee Crafts and Sarahndipities.

Pin It

Saturday, October 13, 2012

Fall leaf mobile - and a blog to check out

Pin It


Inspired by the mobile in this post of "Enjoying the small things",
I decided to copy her idea.


Super easy, but I really like the results.


 I cut out some leaves out of colorful cardstock.
I used my Big Shot, but you could also draw and cut them by hand,
or trace a template or real leaves.

Then I poked some holes in the leaves, and used a needle and some crochet thread to connect the leaves, and tied them to a branch. 


And, since this month I am blogging to raise awareness for Down syndrome,
I might as well point out that the blog where I found my inspiration for this mobile,
"Enjoying the small things", is a blog that was very encouraging to me 
when we had just found out that the little girl we were expecting had Down syndrome.
Just reading about the life of this family, and how this mom had also feared that things would never be 'normal' again, 
and seeing how they simply kept 'enjoying the small things' was just what I needed.

If you're new to her blog, Nella's birth story is probably the first thing I would recommend you to read. 

Pin It

Friday, August 17, 2012

Flag Bouquet Birthday Card

Pin It


Just a simple card, using toothpicks and paper scraps.

Since I don't have baker's twine, I twisted two pieces of embroidery floss together.

Easy, and fun to make...

Pin It

Tuesday, August 7, 2012

3D paper flower gift topper - tutorial

Pin It


This is a simple and easy way to create a pretty paper flower as a topper for a gift.

It's similar to tissue paper pom poms, but much easier and quicker.

You only need one sheet of tissue paper, or other thin paper,
for example book pages or sheet music.


1. Cut about 8 squares of paper and stack
2. Fold it double twice
3. Trim the corners as pictured, cutting scallops
4. Unfold
5. Staple the centers together with one staple
6. Pull up first layer and crumple
7. Repeat for each single layer
8. You're done!

That's all there is to it. Simple, right?!

They're fun to decorate gifts, or decorate whatever else you can come up with!

.

Pin It

Monday, July 16, 2012

Biscuit Lid Magnets

Pin It


Here is a super simple, easy and quick craft.

I have seen some crafts online, using juice can lids.

When I was using some canned biscuits,
I wondered if I could use the ends of the can somehow.

They don't come off as clean as the juice lids,
and are slightly smaller.

But I thought they would make great magnets.

I trimmed the edges as much as possible, and washed the lids with hot soapy water.

The back was not super neat:


But who will see the back side anyway?

Anyway, all you need to do is:

Get some pretty paper, adhesive (I used double sided tape), and flat magnets.

Cut out circles, by hand or using a 1 3/4" circle punch.
Adhere the circle to the front, and the magnet to the back.


And you're done.


Cheap, fast, and simple: my kind of project!

Shared at Sugar Bee Crafts.

Pin It