Showing posts with label decorating. Show all posts

Wednesday, July 3, 2013

Red, white and blue flowers and pinwheels

Pin It

I have a ton of pictures on my computer of things I made in the past weeks (or months even).

Just not much time to post them.

But thought I'd share a couple things I made this week...


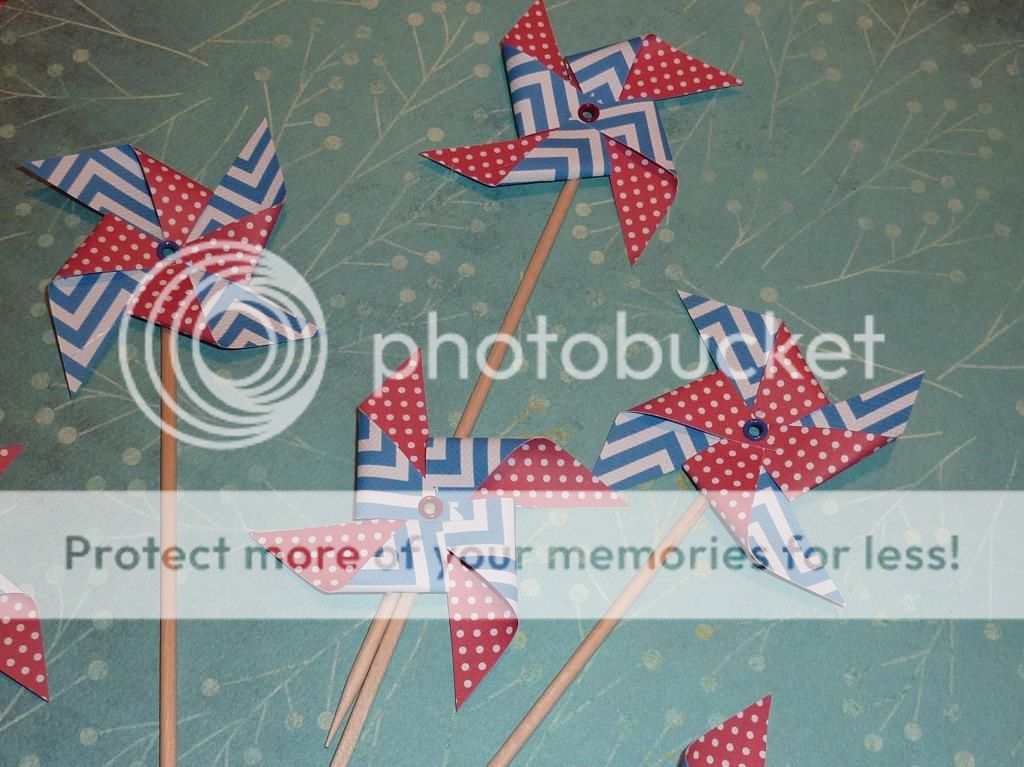
Some patriotic pinwheel cake toppers.
So simple, but festive and cute...


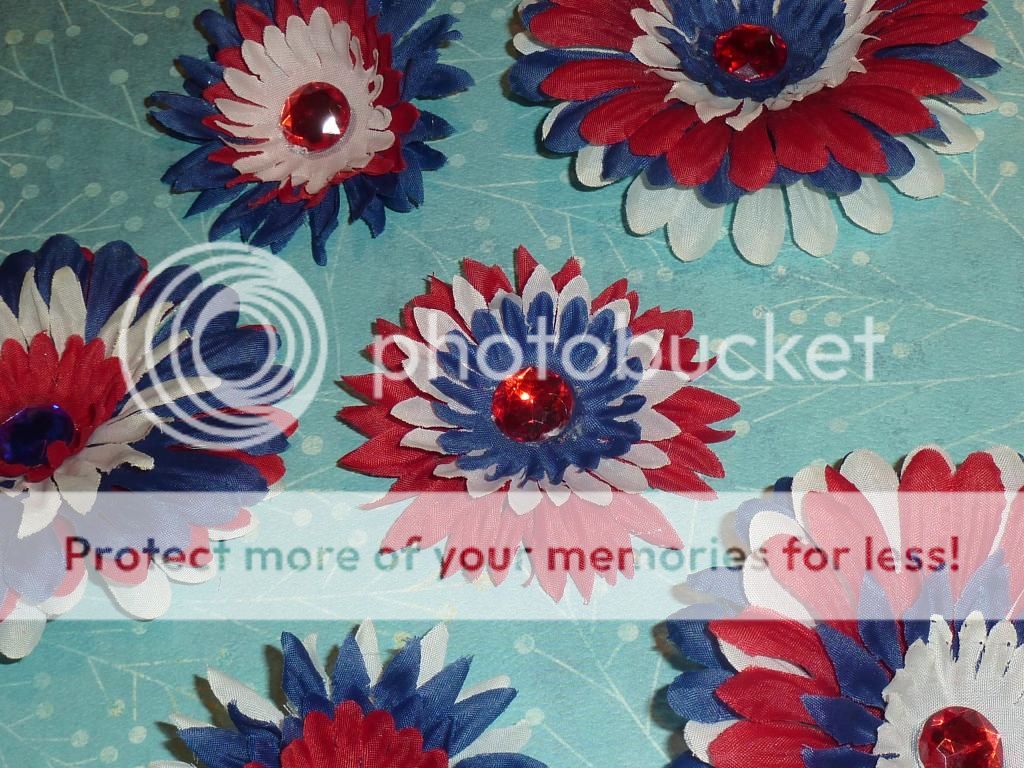
And some red, white and blue hair clips.
We just disassembled a bunch of plain flowers, and re-assembled them in colorful combinations.

Happy 4th of July!


Pin It

Monday, February 11, 2013

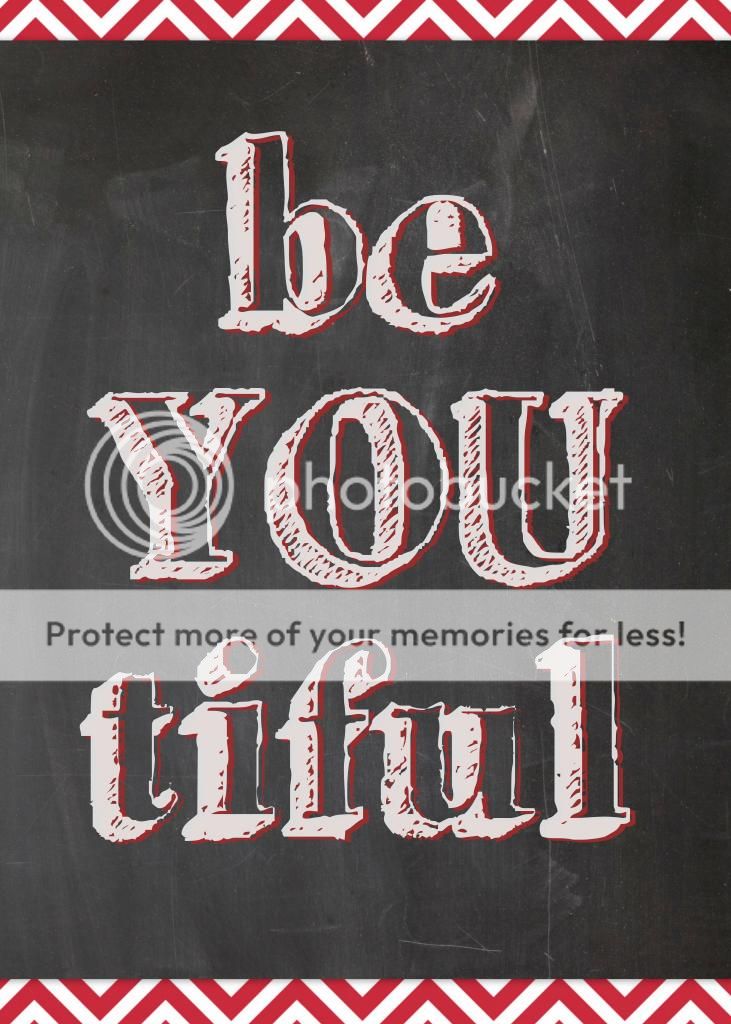
Free Chalkboard Valentine Printables

Pin It

I really like the chalkboard art I've seen everywhere lately.


I gave it a try, and happened to find my attempts again today.

So I thought I'd share :)

They could be used as a card or home decor.


And the following one is a variation on this printable I created last year.


And as always: for personal use only please...


Pin It

Friday, January 11, 2013

Easy and affordable gallery wall

Pin It


We updated our hallway upstairs with a pretty rug.

Our current wall decor didn't match the rug,
so I started thinking about an easy way to change it.

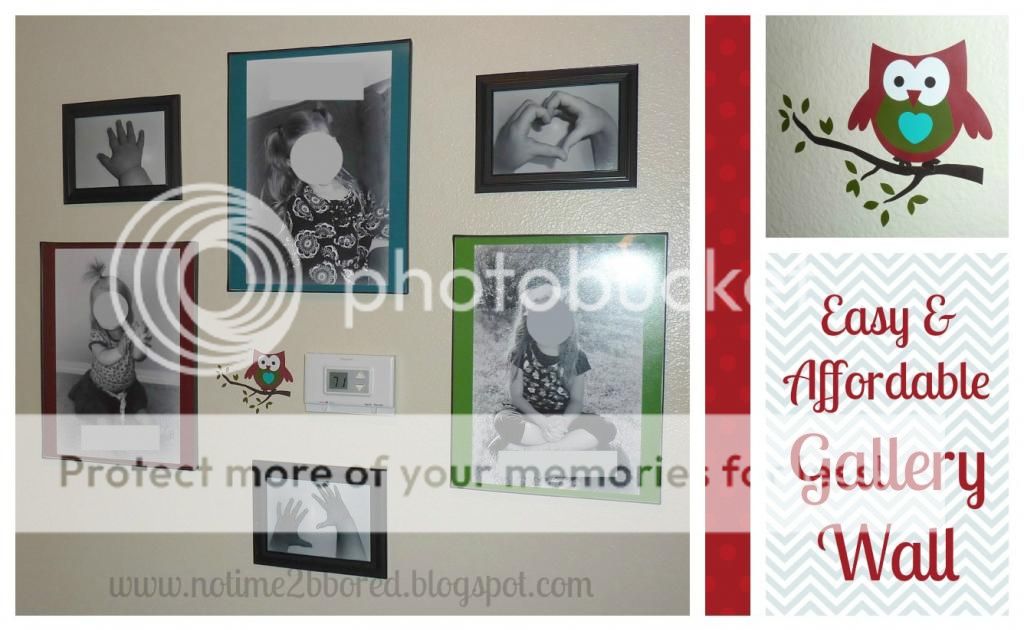
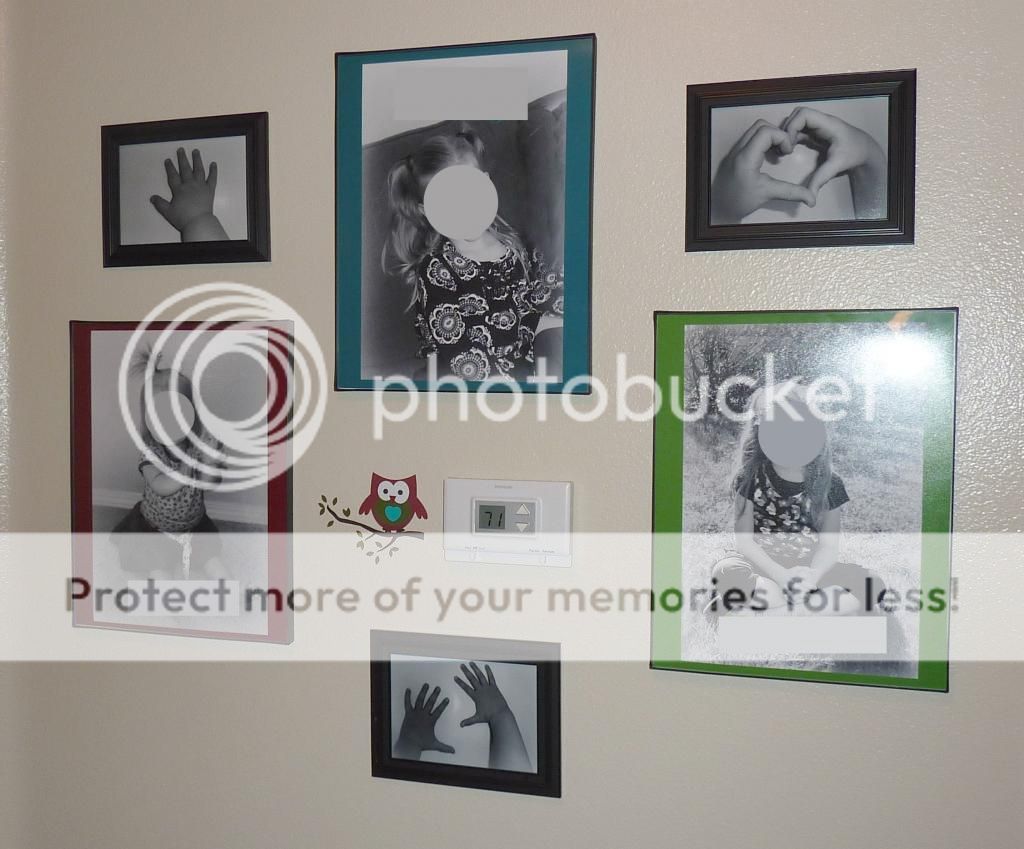
I came up with this gallery wall using simple black & white pictures of our children.

It was very cheap, fast and easy...

So I will share what I did.


First, I selected some pictures of my girls that I really like.
They were all taken in different settings, and they were wearing different colors,
so I changed the pictures to black and white for a more uniform look.

I also took pictures of their hands.

Then, I got some frames at the $ store:

11 by 14 document frames for the large pictures, and 5 by 7 frames for the small ones.

Since I wanted to add some color,
I used Picasa to do that:


  1. Create a picture collage in Picasa (option: Picture pile)
  2. Pick the right size (for me 11 by 14)
  3. Pick "solid color" for your background and select a color.
  4. Add the picture of your choice: you can drag it to the right position and resize it if necessary.


I saved it and added their names (in the same color as the background) on top of the picture.

Then I just had the whole picture printed. No need to mat the picture, since that is already a part of the picture. 
A very easy way to customize the colors with your decor. 
The added names add to the customized look...

Simple, right?!


I hung the pictures, but something wasn't quite right yet:

I didn't like how everything was centered around the thermostat, so to distract from it, 
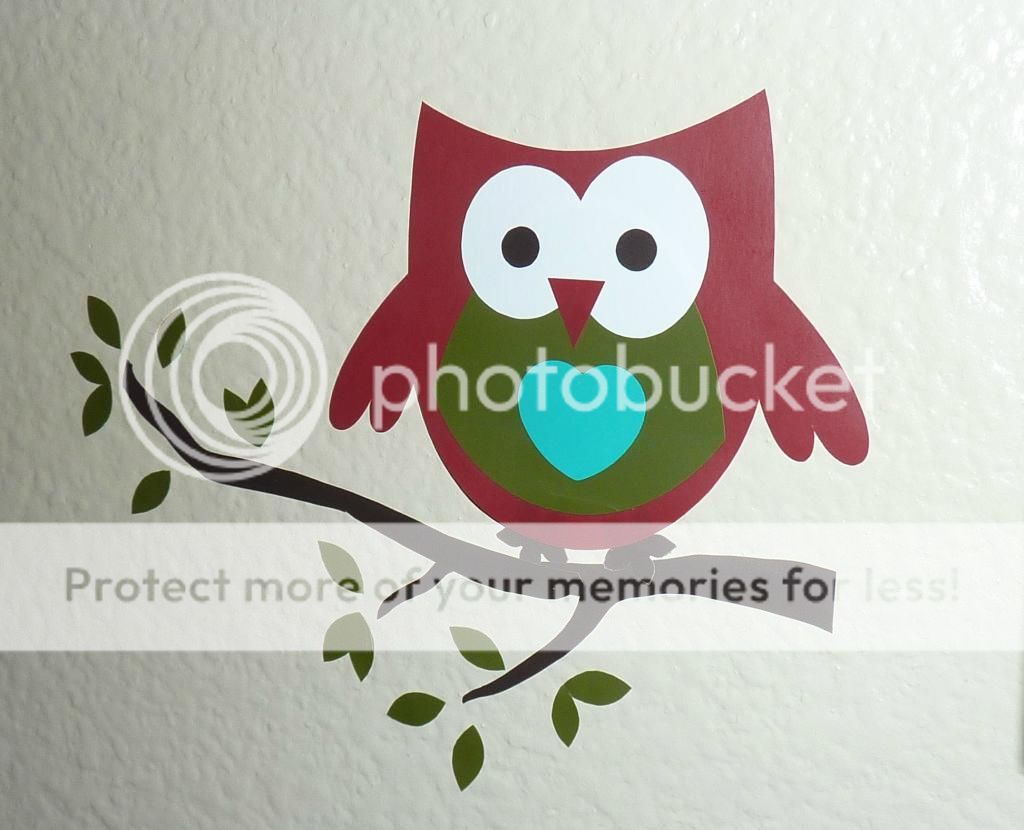
I used some vinyl and my Silhouette Cameo to create this little owl.


Now the thermostat isn't the center of attention anymore :)

Pin It

Friday, December 7, 2012

Washi Tape Candle Holder and Candle - Fast, Pretty & Easy

Pin It


This HAS to be one of the fastest, easiest crafts I ever made...

I decided to share, since it's fun to make, and it can be used for gift giving, or just keep it for yourself...


I found this beautiful tape at Michaels.

I remembered seeing somewhere online where people were decorating candles or candle holders with Washi tape.

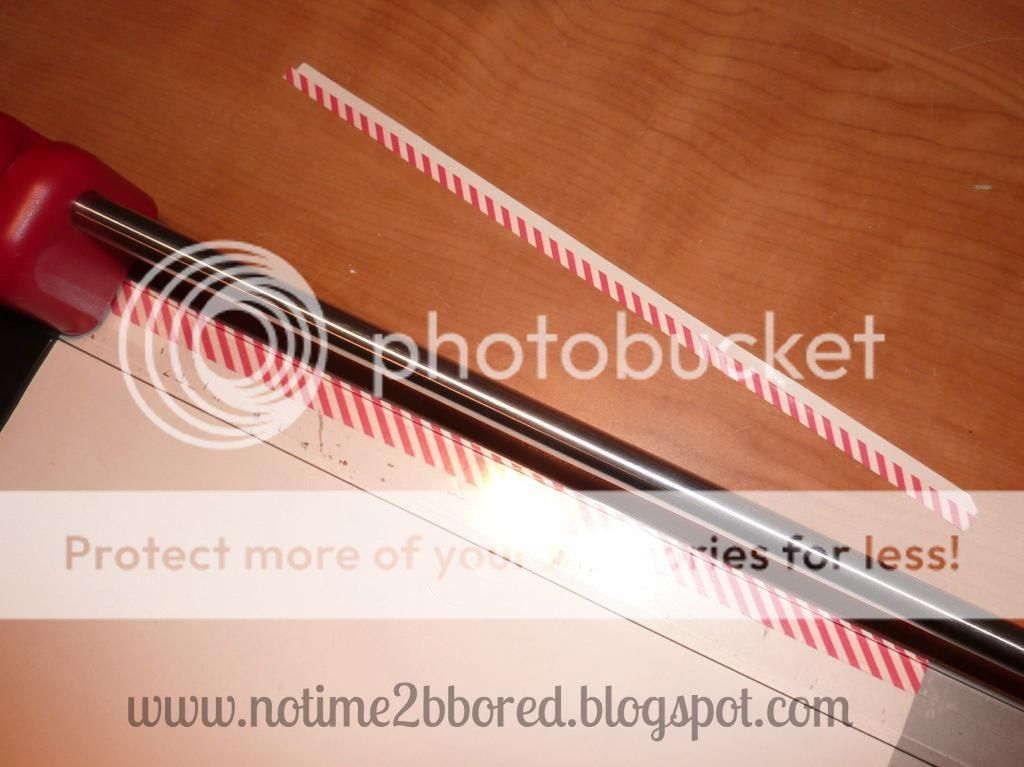
I wanted to use only a thin strip of the red and white striped tape, 
so I stuck it onto the backing sheet of a sticker sheet,
and trimmed it with my paper trimmer.


Then I just put it around a glass jar.

You can use store-bought canning jars, windlights, or just use an empty jam jar like I did...


In order to make the tealight match, I put some tape around that, too.


Simple, but lovely...


I really like the candy cane tape,
the colors, and the cute border, and also like how well it goes together with the narrow piece of candy-cane striped tape.

So if you don't have much time,
but still need to do some decorating,
or if you need a simple gift,
now you know what to do!

If you're looking for more handmade gift ideas,


Shared at Craft-o-maniac and Sugar Bee Crafts.

Pin It

Wednesday, November 14, 2012

Chevron Stenciled Picture Frame Tutorial

Pin It


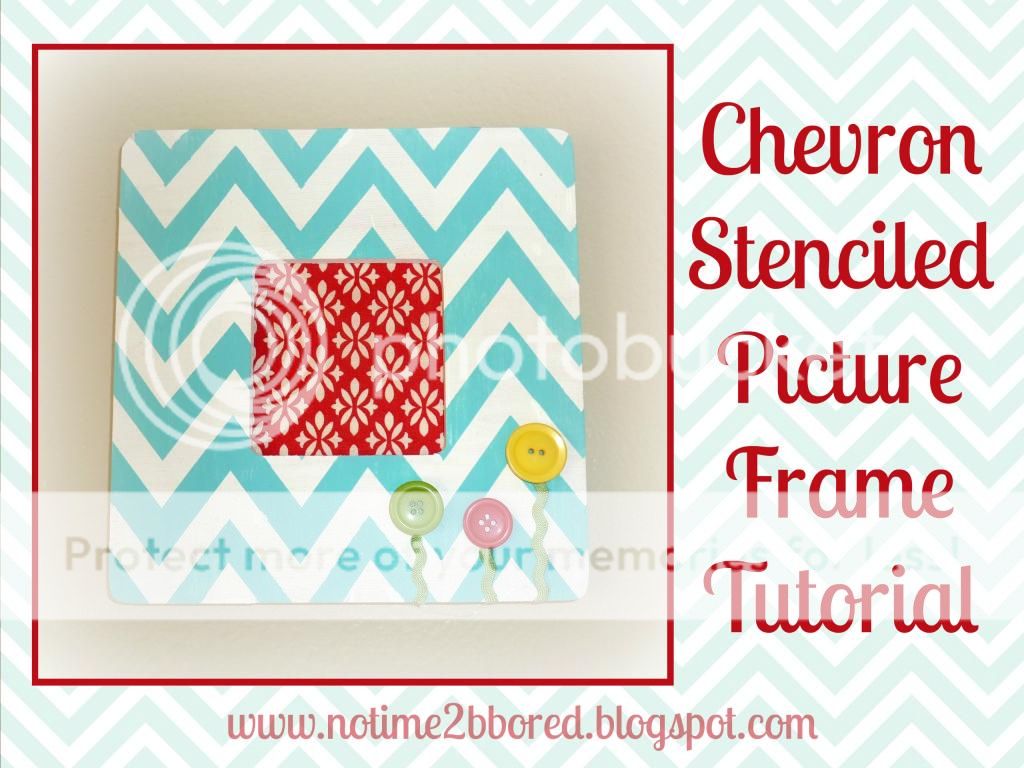
Here is an easy way to decorate a cheap $1 craft picture frame.
I found this one at Michaels a while ago.

Fun to decorate your home, or to give as an unique handmade gift...

You will need the following materials:

* Picture Frame
* Contact Paper/ Shelf Liner ($store)
* Scissors or cutting machine to cut template
* Craft Paint in 2 colors
*Mod Podge
* Foam Paint Brushes
* Optional: Button/ribbons/fabric to decorate, and glue gun


Start by painting it in the lightest color and let it dry.
(I painted it plain white, just paint the whole thing.)

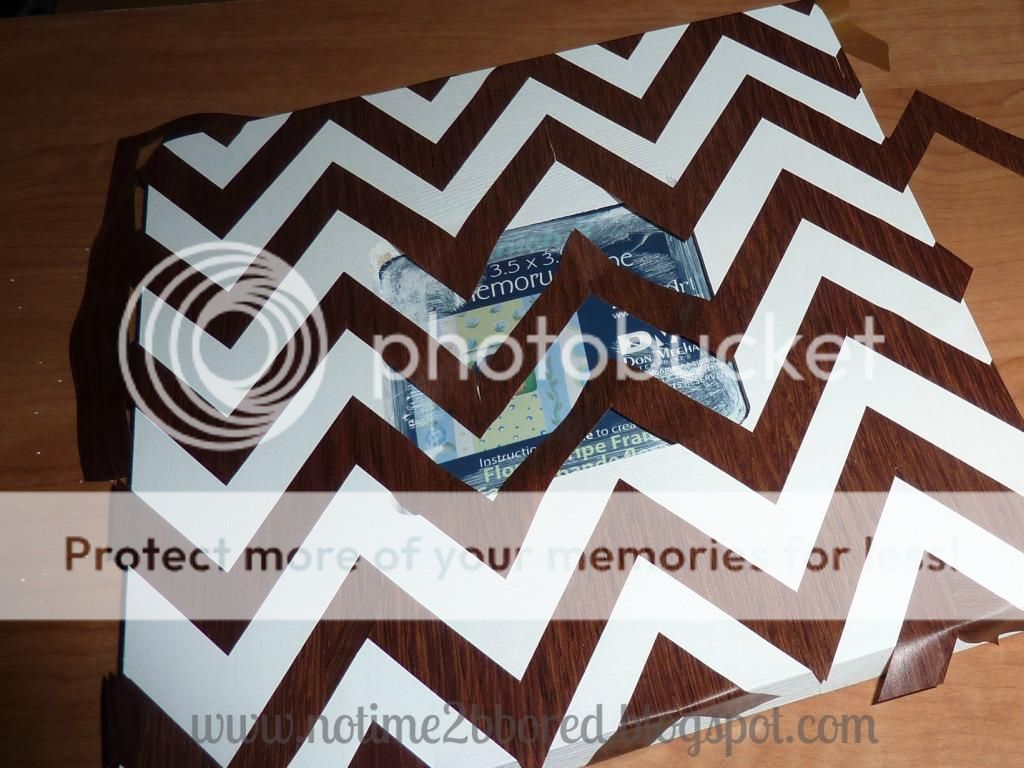
Then, cut your template out of contact paper.

I used my Silhouette Cameo to cut a chevron template, 
but you can also easily cut one by hand:

1 & 2: Fold paper accordion style  3: Cut under an angle  4: Unfold to reveal chevron template

Apply the contact paper chevron template to your frame as pictured below:


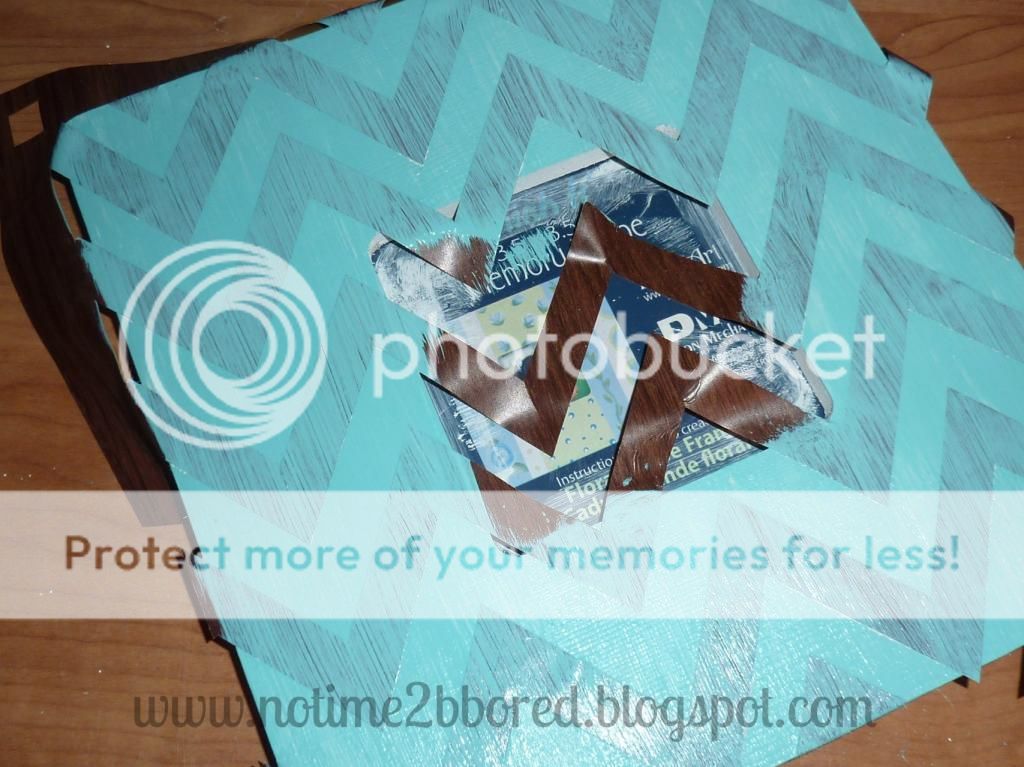
Next, 'paint' over the whole thing with Mod Podge.
This will keep the next color of paint from bleeding under the template.


After the Mod Podge layer has dried, 
paint your second color. (In this case, aqua.)


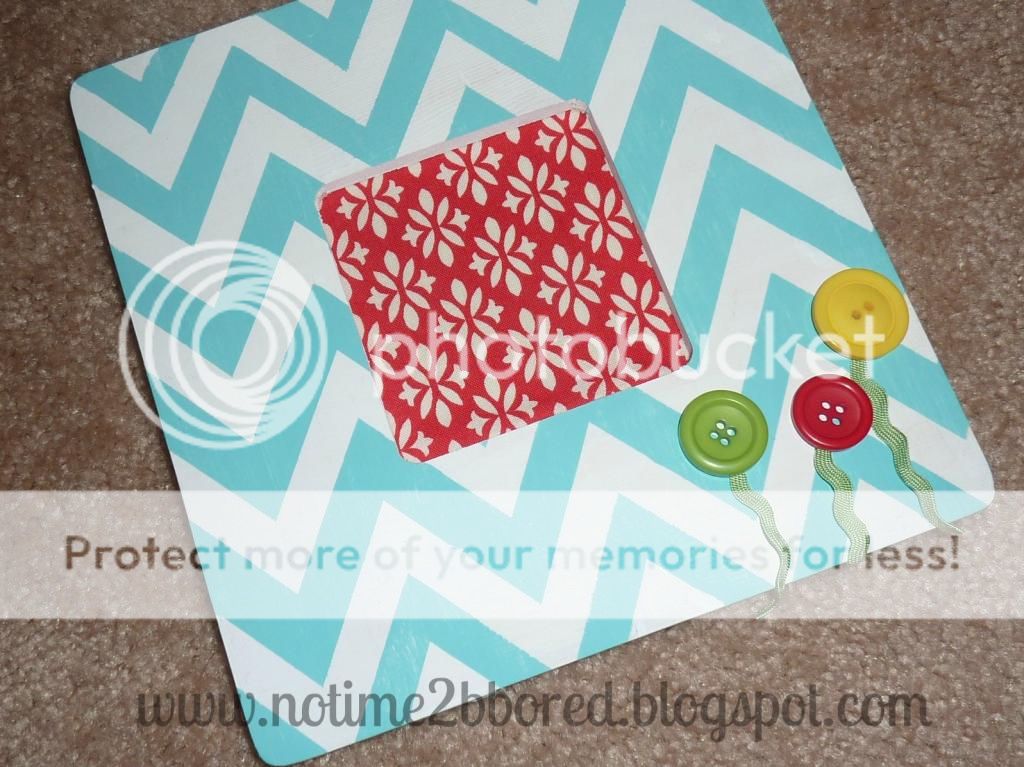
Let dry again, and peel away the contact paper to reveal your chevron pattern:


Now, you can leave it like it is,
or decorate it with buttons, ribbon, etc, whatever you like.

I used some buttons and ribbon to create some flowers,
and glued them in place with a hot glue gun.


Pin It

Monday, November 12, 2012

DIY Owl Nursery

Pin It


I'm excited to show you the newly decorated nursery of our youngest!


Her room is pretty small, so it was a challenge to use all my ideas,
without making it too crowded.


I bought some owl wall decals quite a while ago, 
intending to use them for her room.

But somehow I never got around to actually putting them to use.


Then, my husbands mom reminded me that she was going to make our daughter a baby quilt.
She has this amazing tradition to make every grandchild a special quilt.
And you should know that she already has 9 grandkids!

Anyway, she always lets us moms give input:
we can pick a pattern, or colors, or theme, whatever...

So I told her I really liked owls, and showed her these owl decals.

She found a neat pattern that I really liked. 
I thought it would be hard to find fabric that would match the owls, 
since there were so many colors.

But we found the neatest fabric line,
matching the colors of the owls,
 and she made the most amazing quilt:


Needless to say I was in awe when we saw it!!!
Our youngest likes the cheerful colors too and likes to play with it :)


I got the leftover pieces so that I could decorate some more,
and I bought extra fabric for some bigger pieces.

And that was the little push in the back I needed to start working on this room...


I really like to use embroidery hoops to display some pieces of pretty fabric.
I also like the way it creates different sized 'dots'.


I used some small scraps to decorate a plain wipe box:


Remember these owls?

They finally got a home in this shelf, 
that I found at the thrift store.

I gave it a fresh layer of paint while I was painting the wall...


Some more close-ups...

I wanted to incorporate a little chevron, 
without it being too overwhelming:


You can find the tutorial to create this chevron picture frame HERE.

And some simple embroidery on one of the embroidery hoops:


I framed the print you can find here.


And I made a pennant banner, to showcase all these pretty fabrics.
I really like banners for kids' rooms,
they are so cheerful!


A matching pillow for the rocker.


A personalized canvas, with an owl, pictures of the fabric, 
and her name (which I took out for privacy purposes).


And, a canvas made with scrapbook paper.


I am happy with the results, it is both cheerful and relaxing at the same time.
I would almost like to trade rooms with her...


I am planning on putting up tutorials on some of the items I made once I have time to do that.


Shared at Sugar Bee Crafts and Sarahndipities.

Pin It

Thursday, November 8, 2012

Sneak peek...

Pin It


I've been busy decorating the room of our youngest daughter.

This week, I finally painted the wall, and am finishing some projects that I started a long time ago.

I hope to show the final result some time soon!!

Stay tuned...

Pin It

Monday, October 29, 2012

Laundry Schedule - Funny quote on canvas

Pin It

When I saw this quote somewhere online,
I knew it belonged in my laundry room.

It sounded SO familiar.

With 5 laundry producing people in our household,
doing laundry is one of these never-ending tasks.

It would maybe be better if I could just finish the job in one day,
but somehow, that never happens.

I really live up to this quote.

(I also line dry a lot of stuff, which then hangs in the laundry room,
and that sort of turns it into an extra closet where I go to get clean clothes, 
often till the next time when I need space to hang stuff to dry...
But how do you put that in the quote? :)  )


Initially, I created the following canvas:


I just painted the canvas,
cut the text out of Vinyl, using my Sihouette Cameo,
and put the letters on there.

I used non-permanent vinyl,
and that was no good idea.

In the damp environment of our utility room,
the letters started to come off after a while.

Since I wasn't too thrilled with the sign the way it was, anyway,
I decided to give it another try.


I peeled the letters off, and cut the text out of contact paper this time.

I put the letters on there, and then painted all over it with grey paint.


After the grey paint had dried,
I stamped some swirls on it with red and aqua paint.


And then I pealed off the contact paper letters,
to reveal the text again.

Unfortunately, I didn't take any pictures of the process.
This was one of these spur of the moment crafts,
 that I decided to do late at night when the kids were in bed.


I am still blogging daily this month to raise awareness for Down syndrome.
Want to know why? Click the tab "Down syndrome resources" on the top of this page.

"31-for-21" challenge - Day 29


Shared at Sugar Bee Crafts.

Pin It