Wednesday, August 24, 2011

Why I love spray paint...

Pin It


The past couple months I have had fun using spray paint. Both for things to use inside the house, as well as stuff for the yard. 

What I think is so great is that you can make anything boring suddenly look interesting again by changing its original color. And the best thing is that it's easy and quick!

I just have to be careful not to go overboard and paint everything I come across. 
Just a couple pictures of some things that I painted, unfortunately I don't have any 'before' pictures since I am pretty impulsive once I have a can of spray paint in my hands...


An old tin bucket that I use to keep my garden tools handy got a fresh layer of paint.


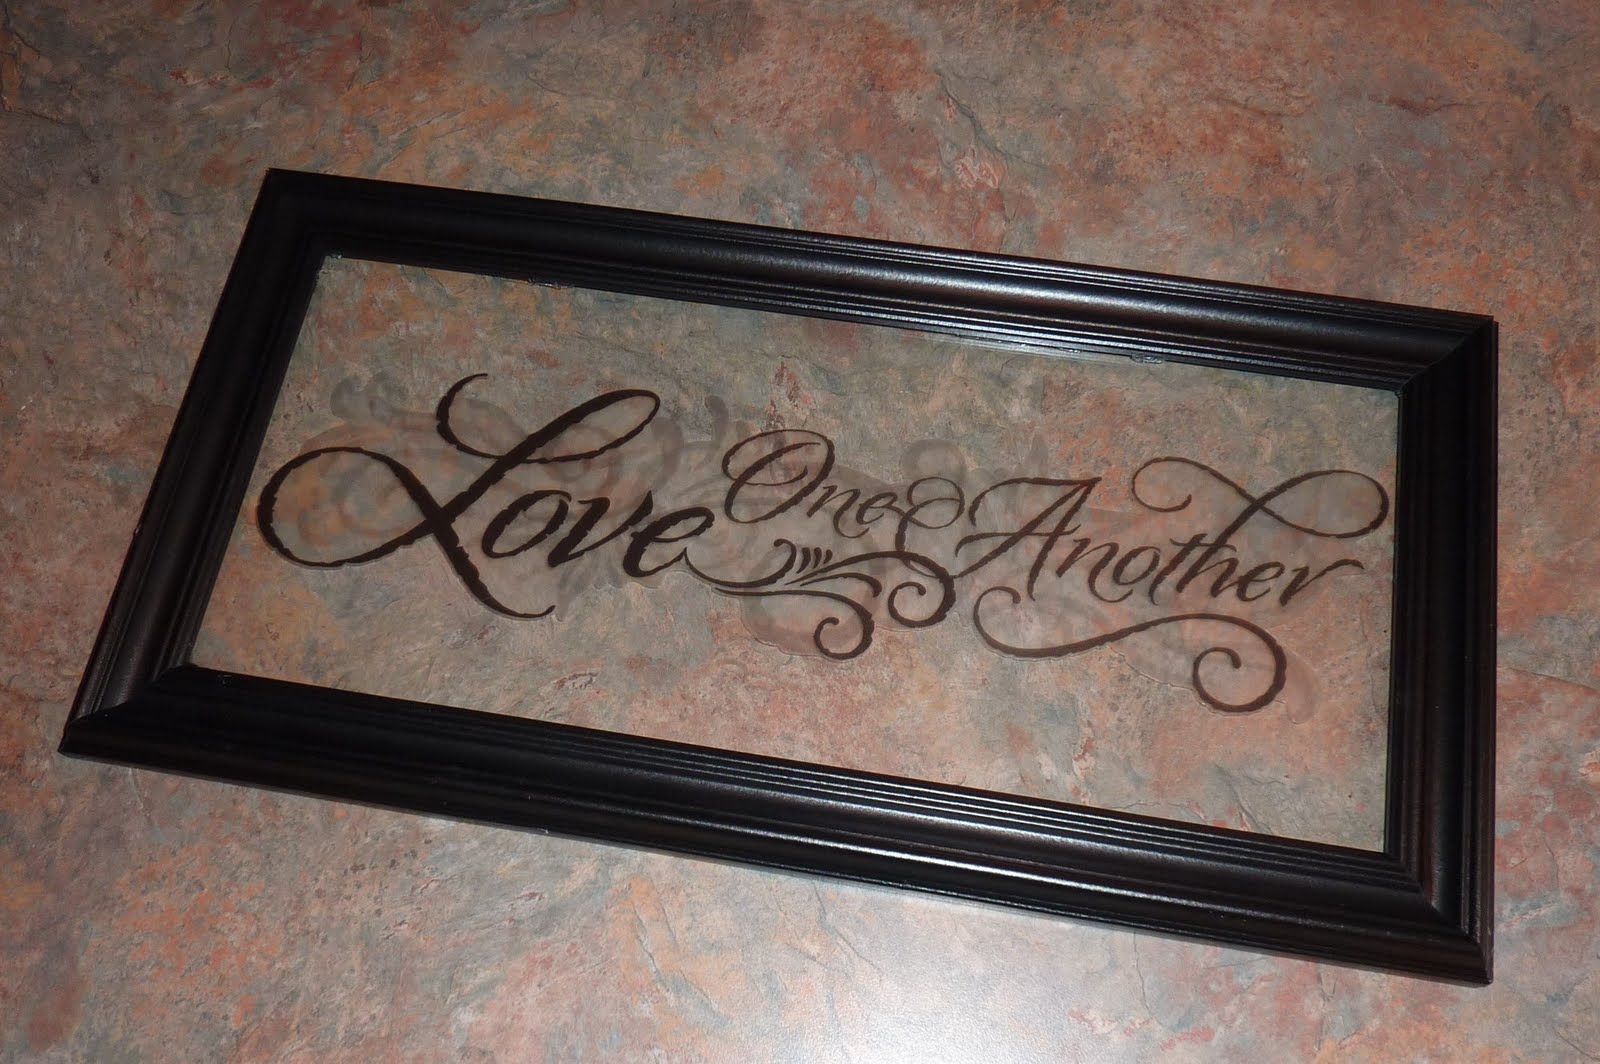
I love old window frames, picked this one up at a garage sale over a year ago, and it has been sitting in our garage ever since. I stayed away from the paint during my pregnancy, but not too long afterwards I just HAD to paint it. Now, what do I do with it?

I was thinking it would be neat to let some vines, like ivy, grow through it.

Another awesome idea I found on Craftberry Bush, but not sure if I have the patience to get the materials and do all the work. But doesn't this look pretty?

Picture from Craftberry Bush.

For now it has just been sitting on an old broken bench in our yard, just waiting till I make up my mind...


Another item I found at a garage sale is this flower cart. It was unfinished, and lived in our garage for 2 years! So finally I managed to get it painted. I want to put some flowers in it.


This birdhouse was just an unfinished wooden bird feeder. 
I love how it adds some color to our yard, think it will be especially nice once our yard has lost all its color during the winter months.

Pin It

Thursday, August 18, 2011

Party food

Pin It

We have 2 birthdays in July. I have been wanting to post these pictures, but they're a little late. My husband's and daughter's birthday are only one day apart, and that usually results in us celebrating their birthdays together.


Although my hubby isn't picky, I tried to stay away from the typical pink girly party decorations and find something that would be cute for a little girl and a big guy :)

This color theme seemed to work for both of them.


I found some free printables that I really liked.

I used the printable Lots-o-dots to make the cupcake toppers. On the same site, there is also a printable mini banner. Both printables are so cute. I used the dots to make the round cupcake toppers, I printed them on textured cardstock, punched them out and attached them to short skewers. I used the banner printable to make the little flags.


After I was done making the flags, I had some extra pieces, so I also made a little banner and used that to decorate our ice cream cake.
(Recipe can be found here.)


Since a couple of my girls' cousins couldn't be at the party, we had another little party. 
This time it was a tea party, and I enjoyed making small treats: chocolate covered strawberries, mini chocolate cookies, mini cupcakes, heart shaped cheese & crackers, and I added some chips and watermelon. Just some small kid-friendly treats, that could also be enjoyed by the moms.

Since it was really hot, we had ice tea instead of hot tea, and strawberry lemonade. 


Pin It

Thursday, August 4, 2011

Faux Etched Glass Framed Quote - Tutorial

Pin It

Today I combined two things that I had laying around here into this:


It cost me $6 to make this...

Very simple, but I really like it. So in case you want to make your own, I just took some pictures.

I started out with a picture frame from Walmart.


And a wall decor sticker from Dollar Tree.
They have several neat wall quote stickers - no, I don't get paid to say that, I just like to browse that place ;)


I took the glass out off the frame, and applied the sticker.


 Then, I used a box knife to cut off the back of the frame, that was attached to one of the sides. 


Since the hooks of the frame were attached to the part I took off, I had to find something else so that I could hang the frame later. After a quick search through my hubby's tool box I found these little guys:


Perfect for the job. I used a hammer to attach them. (If you want hooks, make sure to do this BEFORE you glue the glass to the frame.)  


Next, I used some E-6000 to attach the glass to the frame.
If you use that stuff, follow the directions on the tube. 


I put some books on the glass to weigh it down while the glue dried.

And voilĂ :


Think it looks really neat, and think it would even look better on a colored wall.


Another quick, cheap and easy project :)

Pin It