Showing posts with label scrapbooking. Show all posts
Friday, August 17, 2012
Monday, July 16, 2012
Biscuit Lid Magnets
Here is a super simple, easy and quick craft.
I have seen some crafts online, using juice can lids.
When I was using some canned biscuits,
I wondered if I could use the ends of the can somehow.
They don't come off as clean as the juice lids,
and are slightly smaller.
But I thought they would make great magnets.
I trimmed the edges as much as possible, and washed the lids with hot soapy water.
The back was not super neat:
But who will see the back side anyway?
Anyway, all you need to do is:
Get some pretty paper, adhesive (I used double sided tape), and flat magnets.
Cut out circles, by hand or using a 1 3/4" circle punch.
Adhere the circle to the front, and the magnet to the back.
And you're done.
Cheap, fast, and simple: my kind of project!
Shared at Sugar Bee Crafts.
Monday, June 11, 2012
Free Father's Day Printable - Scallop Tags
With Father's day around the corner,
I decided to create these scallop tags.
Use these free printable scallop tags to create cards, make cupcake toppers, decorate crafts, for scrapbooking, etc.
When the page is printed full size (8.5 by 11),
the scallops can be punched out with a 1 3/4 inch punch.
For personal use only.
Enjoy!
Handmade Graduation Cards
In the past couple weeks I made several graduation cards.
Here are some pictures, and links to their tutorials.
What I like about all of these,
is that you don't need any special 'graduation-themed' tools,
like stamps, punches, etc.
In all cases, some cardstock, a few basic tools and adhesive is sufficient.
They are gender neutral, and simple, but fun.
The following card is folded from black cardstock,
and shaped like a graduation cap.
Instructions can be found HERE.
The next card is one I came up with 2 years ago:
Instructions can be found HERE.
And my favorite,
with a pop-up graduation cap hidden inside:
It's kinda hard to take pictures of this one, the card folds completely flat,
and on the inside that whole cap folds out once opened.
Pretty neat if you ask me!
The person who designed it gives a pattern and good instructions:
Wednesday, April 25, 2012
Teacher appreciation gift
We made this gift for the teacher of my oldest daughter.
She is a GREAT teacher, and we wanted to give her something to show that we appreciate her.
So we gave this glass jar, filled with Hershey's Nuggets, wrapped in cute apple paper.
The paper and other supplies I used are scrapbooking supplies that I have had for a while.
With my Silhouette Cameo I cut her name in vinyl to personalize the jar.
My daughter helped me cut a 12 by 12 inch sheet of scrapbook paper into 48 pieces that were 1 by 3 inch each. That is: I positioned the paper, and she moved the knife of my paper trimmer...
(First cut it into 12 1 inch strips, and then cut each strip into 4 equal pieces.)
On the top of the jar I made this label.
I sketched the apple by hand to match the apple on the paper.
Then, following that pattern, I poked holes in the cardstock, and stitched the apple by hand.
She colored the apple.
Together we added the scrapbook paper to the bars, using adhesive.
I used the following bag of Nuggets. It holds about 50 pieces: just perfect: we ate 2 and wrapped 48.
(I got the jar and the candy at Target.)
We hope she likes chocolate!
Shared at Sugar Bee Crafts.
Friday, February 24, 2012
Digital Scrapbooking & Cards Offer with Mixbook - Great deal!
If you have been following my blog for a while,
you know that I like a LOT of different crafts.
One of the things that I really like to do,
but unfortunately don't have much time for,
is scrapbooking.
I have boxes full of pictures to be scrapped...
Last year I got an offer to try out Mixbook,
and make a free digital scrapbook.
I thought I wouldn't like it,
since I am sort of a hands-on person.
I was WRONG.
There is still so much 'freedom', you can use ready-made books,
but you can also change the elements on the pages around, or completely do your own thing.
There is still so much 'freedom', you can use ready-made books,
but you can also change the elements on the pages around, or completely do your own thing.
I just loved how fast that book came together.
Also, unlike other programs, I love their backgrounds, stickers, etc.
You can combine different themes, so you don't need to make a one-theme album.
Their site is very user-friendly.
I was very happy with the finished product.
![]() |
Books, Calendars, Cards (Picture - Mixbook) |
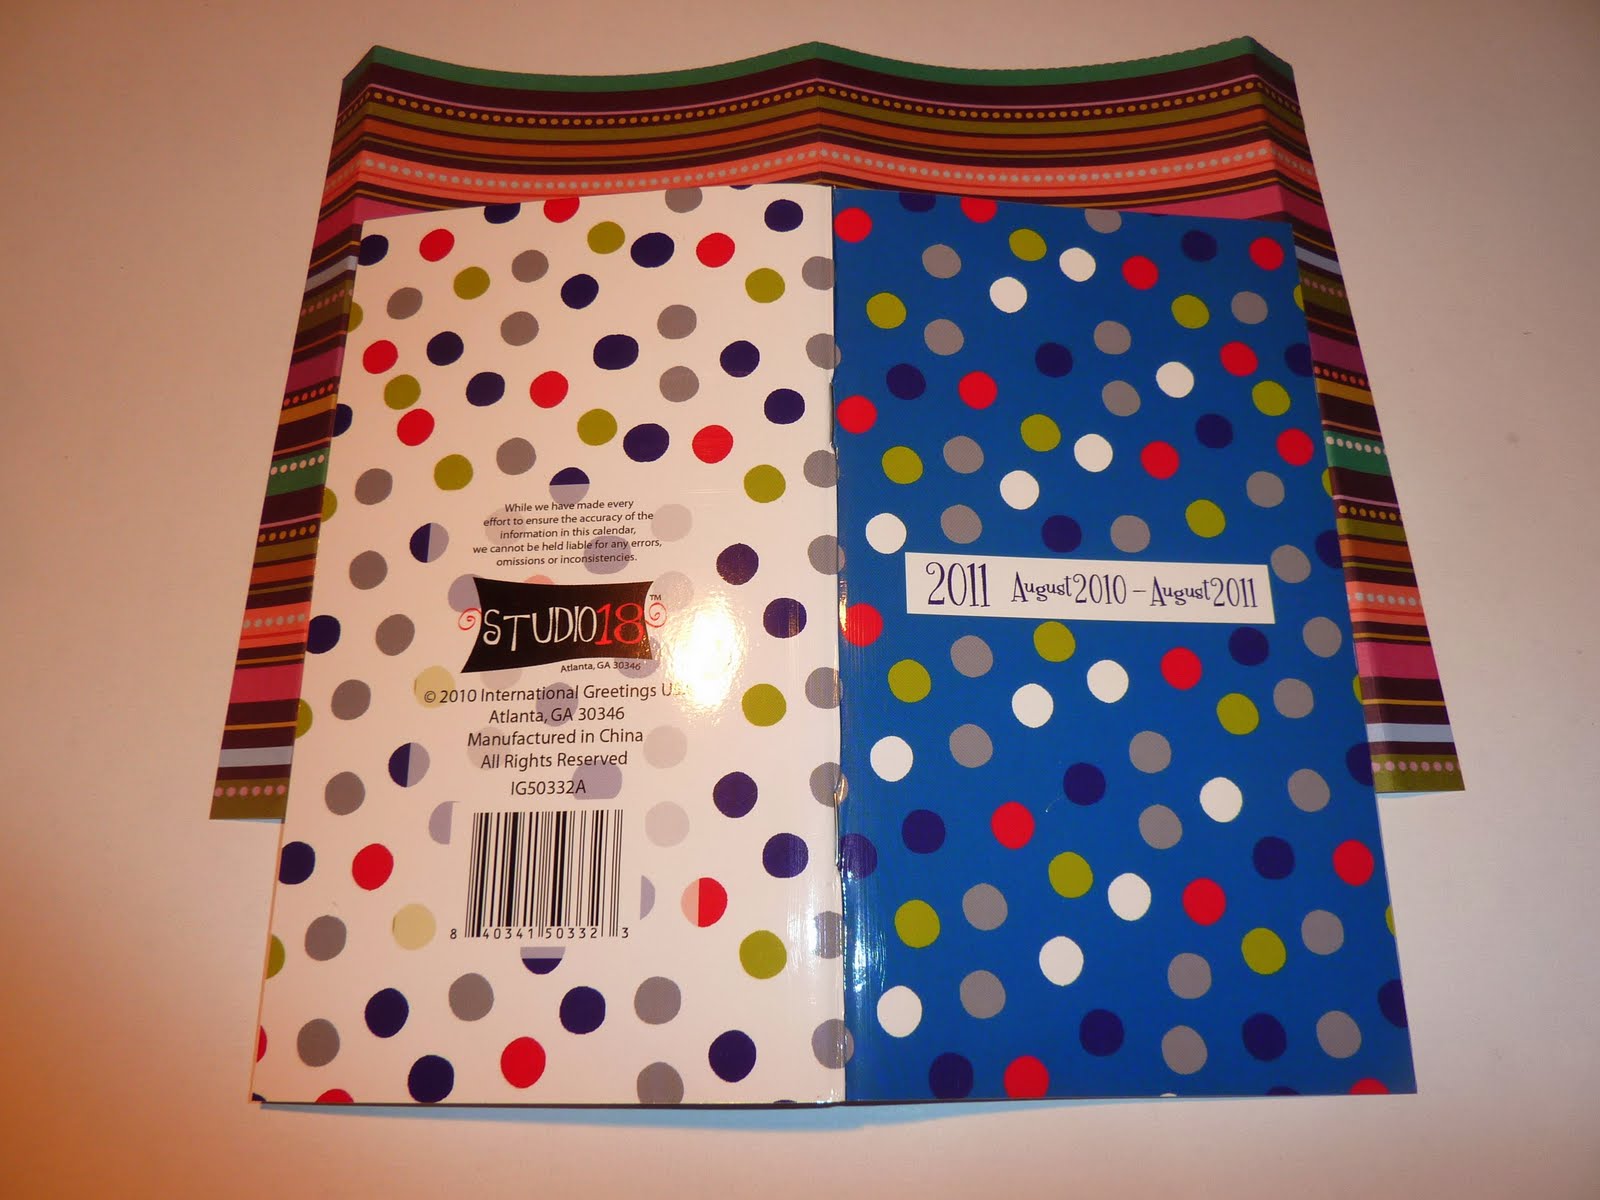
So when I saw this Groupon deal,
I was really excited.
Pay $15 for $50 of products, that is a very good price.
For terms and conditions, check the fine print on the site.
And if you use the link I provided, I might get credit for it. Thank you ;)
You have more than 3 days from the date I posted this.
If you don't see it show up as the main offer,
check on the right where it states 'More great deals'.
You have more than 3 days from the date I posted this.
If you don't see it show up as the main offer,
check on the right where it states 'More great deals'.
Wednesday, February 1, 2012
Flower canvas wall art - a tutorial
A few days ago I tackled this project.
It had been on my to do list for a while,
and when my husband was out of town this weekend,
I parked the kids at the table with a craft,
and joined them with my own project...
I have seen a similar project with petals cut out of fabric,
but I decided to use scrapbook paper.
I loved how easy and quick it was!
Here is a list of materials needed:
* Canvas
* Craft Paint (background)
* Mod Podge
* 5 coordinating scrapbook papers
Tools:
* Foam paint brush
* Scissors
Begin by squirting some paint on your canvas.
Use the foam brush to spread it evenly.
Let dry and repeat if necessary.
(Since I used a dark color, it took 2 layers.)
Don't forget the sides.
Then, cut petal shapes from the patterned paper.
No need to be precise, I just freehanded them.
This is a very simple, basic shape, and that is why the project comes together so quickly.
Lay the petals on the canvas.
I liked to start somewhere off-center, and let some of the petals run off the canvas.
One petal at a time, glue the petals onto the canvas with Mod Podge.
I just glued the petals onto the sides too, I always like it when the print of a canvas continues on the sides...
Trim off extra pieces on the back.
That's it!
Simple, right?!
The whole time I was working on it, I thought I would put it up vertically.
But I like it this way, too...
I linked up to Positively Splendid.
Friday, February 25, 2011
Recipe Organizer
Don't know if anybody recognizes this kind of 'pile' in their kitchen.
(I hope so, please tell me I am not the only one!)
Anyway, that is how my recipes have been 'organized' for years!
When I needed something, I would just dig through the papers till I found it.
But just recently, I couldn't stand this sight any longer.
So I decided to finally tackle it.
I just took an old binder, made a simple cover from scrapbook paper, and put it in the transparent sleeves on the cover. Next, I put all my recipes in page protectors. The recipes that were smaller than a standard 8.5 by 11 I just glued on some white printer paper. Nothing complicated, but it looks SO much better!
Just wonder why this took me years :)
I linked up to I Heart Organizing.
Wednesday, September 8, 2010
Pocket Calendar Transformation Tutorial


Supplies needed:
- Pocket Calendar (duh)
- Patterned scrapbook paper (one large enough to cover the whole outside, plus a little extra so that it can be folded around the edges)
- Paper trimmer
- Glue
- Ribbon
- Clear nail polish to finish ribbon
- Optional: other materials, like flowers and rhinestones to embellish

First, remove the plastic cover of the planner. If you plan on decorating with several layers of paper, trim the outside edges of the original planner cover a tiny little bit. This will give you more room to work with, and makes it easier to slip the cover back on.
Then, cut a piece of paper the same height as your planner. Lay the planner open as pictured, and make sure you cut the width a little larger than the planner, so that you can fold the edges around the original cover.
After that, take a piece of ribbon, about 1.5 times the height of the planner. Glue it to the paper you will use as the cover as shown in the picture.

Then, glue the paper around the cover.

Finish the end of the ribbon with some clear nail polish to keep it from fraying.


Use other papers and embellishments to decorate your planner.
I linked up to:


Monday, August 30, 2010
Emery Board Holder


Tuesday, June 22, 2010
Dry Erase Board Tutorial
It is very quick, simple and fun.
And, you don't need a lot of supplies either.
So, let's start!
And, you don't need a lot of supplies either.
So, let's start!
But you can adjust this to work for any size frame you like.
Other supplies needed:
- Dry Erase Marker
- Background paper, same size as frame
- Burlap, a little smaller than frame (Or other paper. Make sure it is light enough that you can see the text you write on it with a dry erase marker.)
- Other patterned paper, flowers, ribbon, rhinestones, what ever you can come up with to decorate the frame
- Adhesive (Glue dots)
Just cut it the same size as the paper that was in the frame when you bought it.
Then, pull out some pieces of burlap to create a fringed edge all the way around.
Decorate the background with patterned paper, ribbon, etc.
Just make sure that you keep the 'bulky' parts, like flowers, rhinestones, etc. out.
You will glue these on top of the actual frame, not on the background.
Other things you could use are:
* fabric
*lace
*buttons
*beads
etc.
I really like to use mini glue dots, they seem to hold up pretty well!
This works great to leave little messages for people
(or yourself, if there is something you don't want to forget)
Also, this is something that kids would enjoy to make, too.
They can just pick their own papers and decorations, and use it to draw on.
(Or leave messages for you.)
Subscribe to:
Posts (Atom)