Monday, December 24, 2012
Wednesday, December 19, 2012
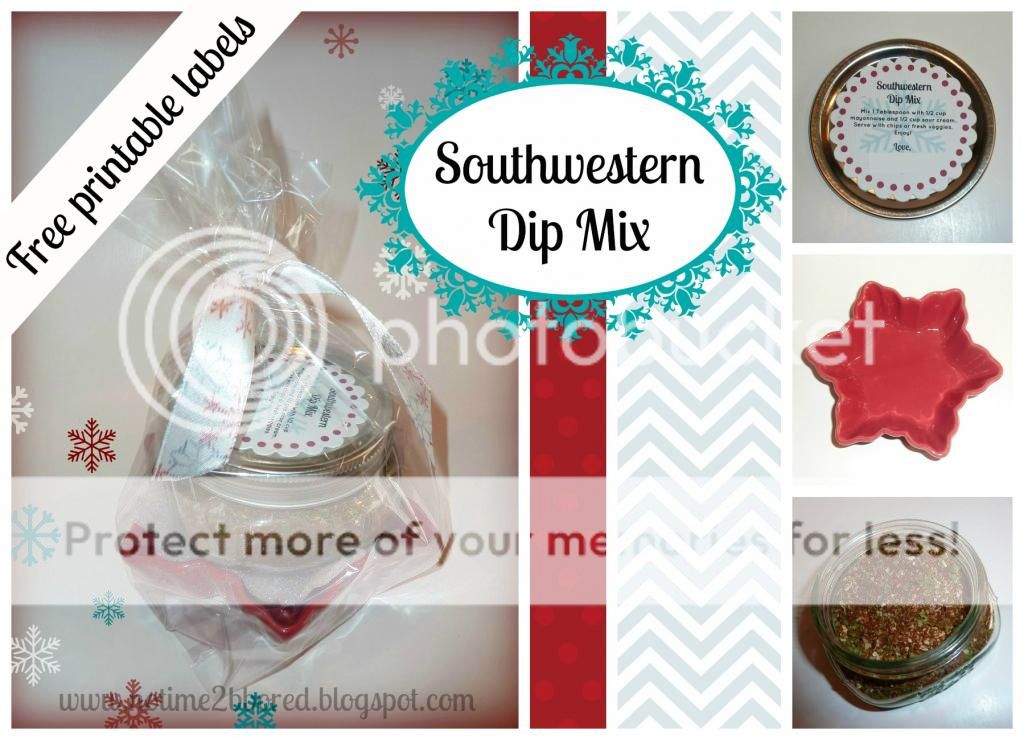
Southwestern Dip Mix Gift - Free printable labels
Do you need a last minute handmade gift idea,
that's easy and tasty?
I got one for you!
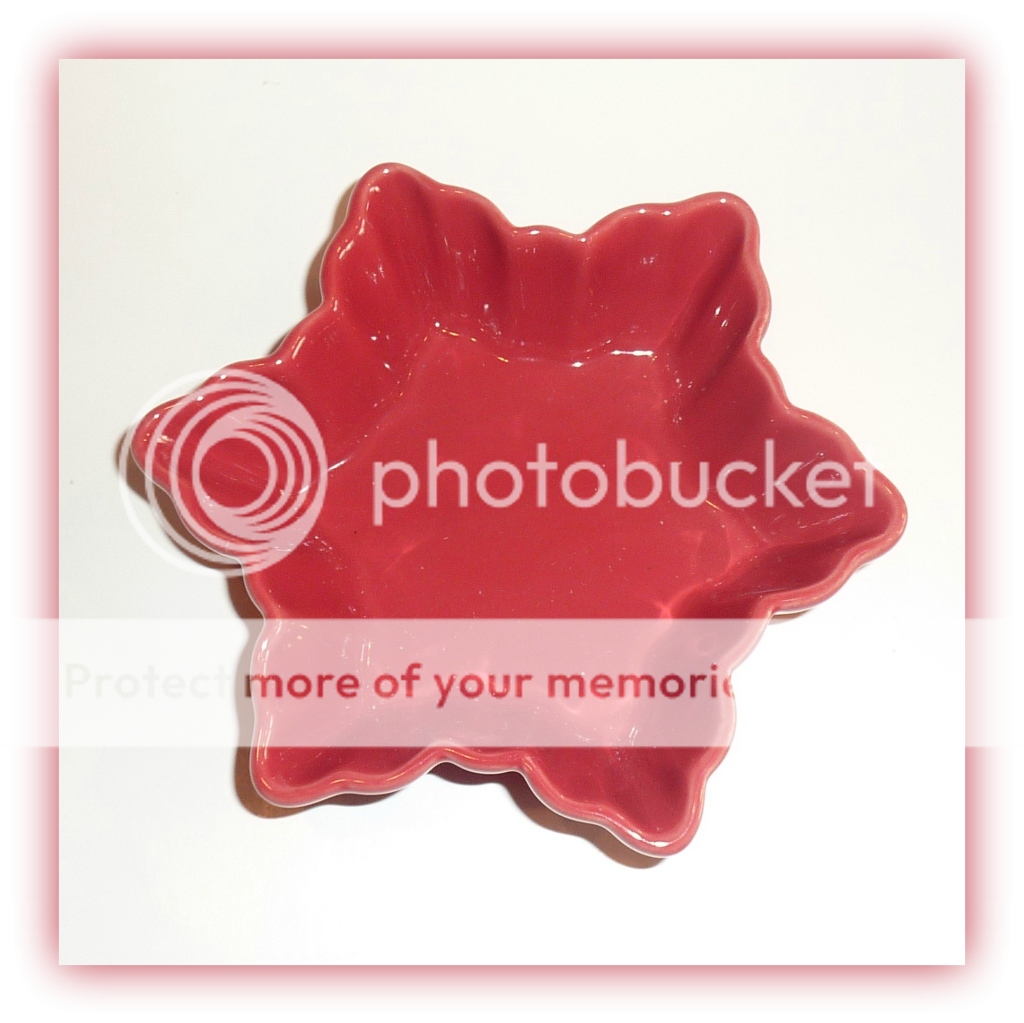
It all started when I spotted these cute dishes at Michaels:
They were too small for baked gifts,
but I thought they were so cute, so I got them anyway.
Then I realized they would be perfect to serve a dip in.
Looking around online, I found a dip that sounded tasty.
So I mixed it up, and I tested it, and I served it to my family.
We all liked it, so I considered it a success.
I mixed up a big batch,
got Ball half pint wide mouth canning jars,
and filled them with the mix.
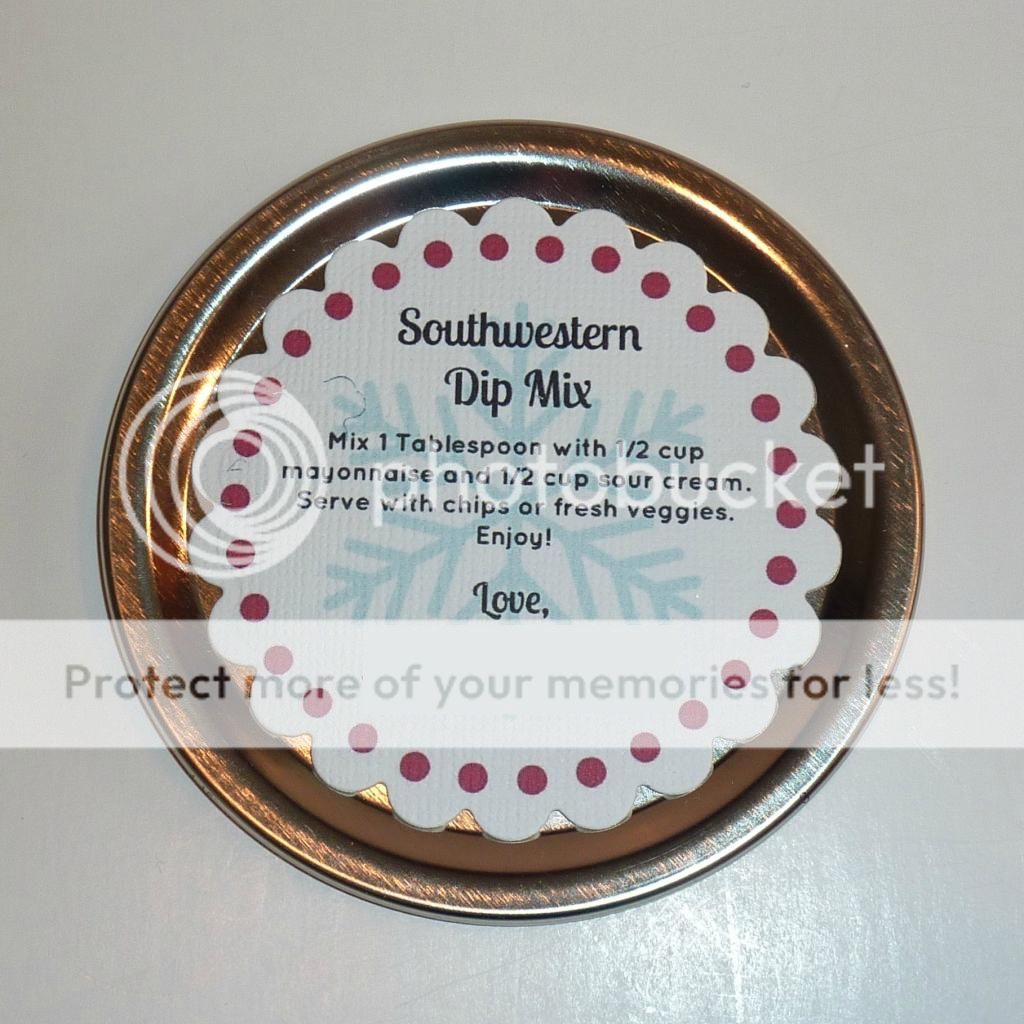
I printed a label with directions and stuck it on top of the jar.
(You mix one tablespoon of the mix with 1/2 cup of sour cream and 1/2 cup of mayonnaise.)
To protect the dish, I cut this shape with my Big Shot,
out of the protective material the cashier at Michaels had wrapped around my dishes.
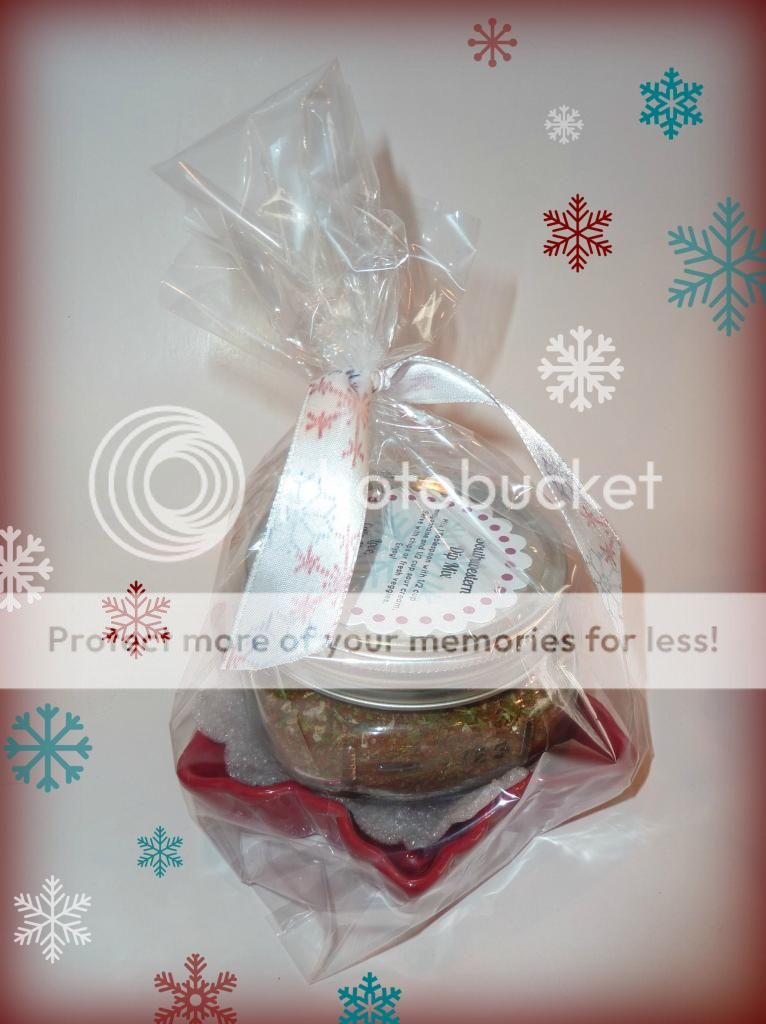
I put the protective material in between the dish and the jar:
Then, I wrapped it in some clear plastic bags,
and tied it up with ribbon.
And they were ready to be gifted!
In case you want to make your own,
I am sharing the printable labels with the directions on it HERE.
Shared at Tatertots and jello.
Friday, December 7, 2012
Washi Tape Candle Holder and Candle - Fast, Pretty & Easy
This HAS to be one of the fastest, easiest crafts I ever made...
I decided to share, since it's fun to make, and it can be used for gift giving, or just keep it for yourself...
I found this beautiful tape at Michaels.
I remembered seeing somewhere online where people were decorating candles or candle holders with Washi tape.
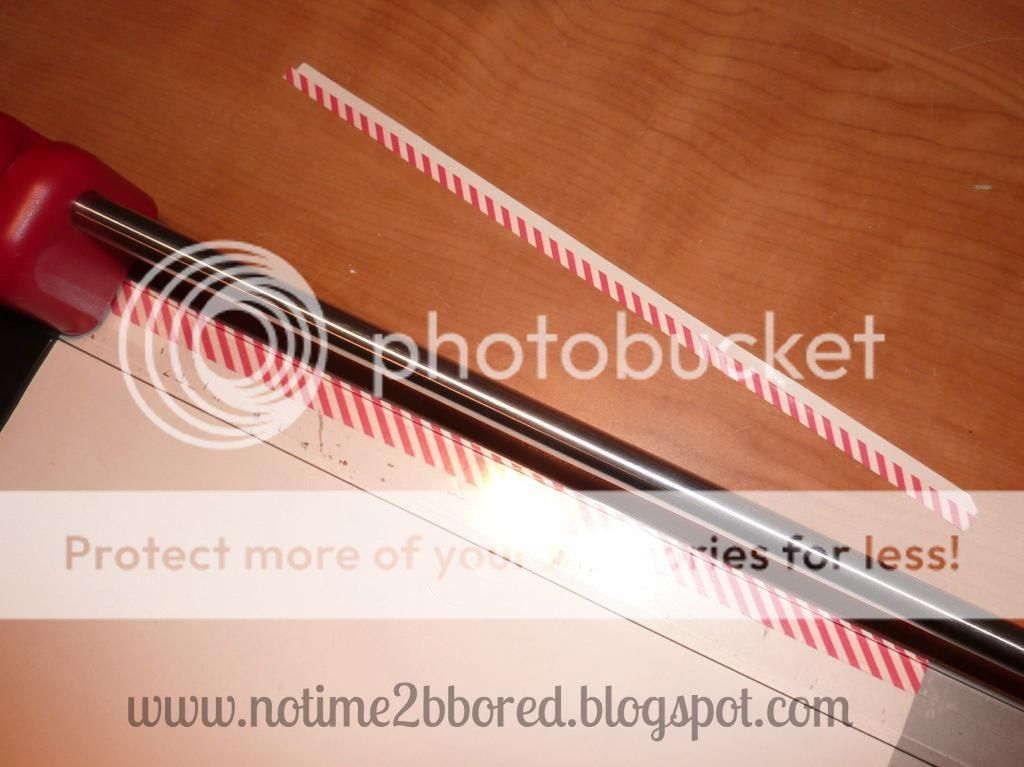
I wanted to use only a thin strip of the red and white striped tape,
so I stuck it onto the backing sheet of a sticker sheet,
and trimmed it with my paper trimmer.
Then I just put it around a glass jar.
You can use store-bought canning jars, windlights, or just use an empty jam jar like I did...
In order to make the tealight match, I put some tape around that, too.
Simple, but lovely...
I really like the candy cane tape,
the colors, and the cute border, and also like how well it goes together with the narrow piece of candy-cane striped tape.
So if you don't have much time,
but still need to do some decorating,
or if you need a simple gift,
now you know what to do!
If you're looking for more handmade gift ideas,
check out this list of DIY gift tutorials.
Shared at Craft-o-maniac and Sugar Bee Crafts.
Saturday, December 1, 2012
Pennant Banner Card
When my sewing machine is already sitting out, and it's ready for a new needle,
I like to use it for stitching cards.
This simple card with a colorful pennant banner can be adjusted and used for different occasions.
Even without stickers or stamps it's still cheerful, and the flags can simply be cut by hand, no complicated tools needed.
Thursday, November 22, 2012
Wednesday, November 21, 2012
Handmade gift ideas - 15 DIY tutorials
The holidays are getting closer,
but there is still enough time to create some handmade gifts.
Here is a list of some handmade gift ideas,
including links to their tutorials.
For the little ones:
Edible gifts:
For the girls or ladies in your life:
Enjoy!
Wednesday, November 14, 2012
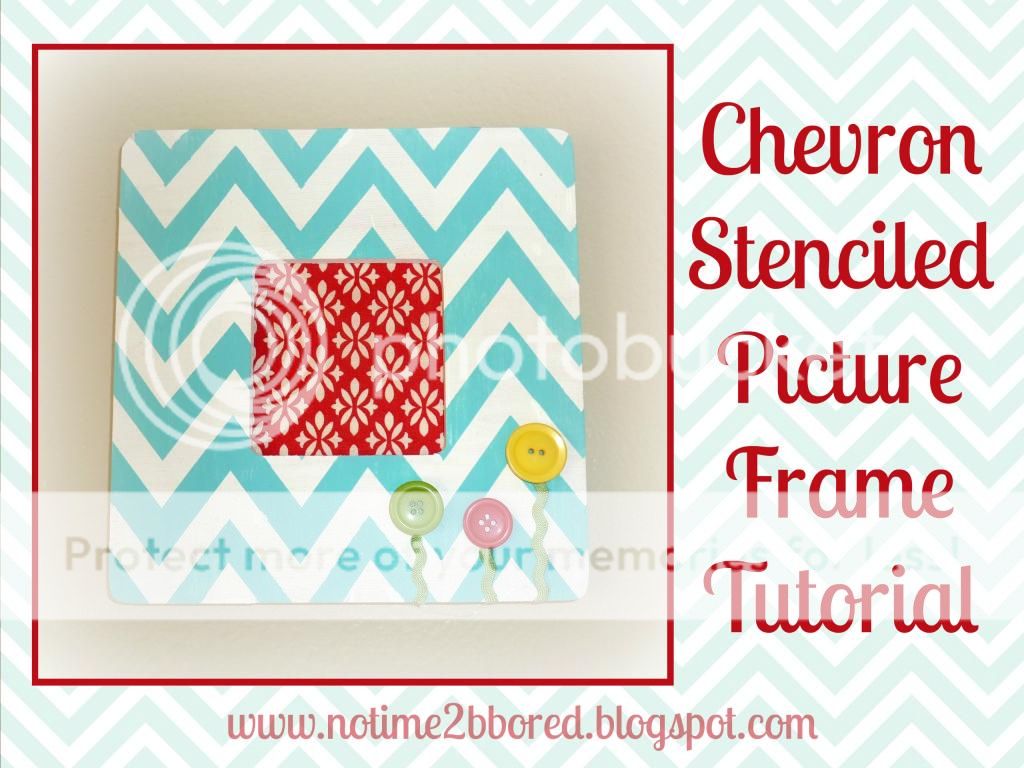
Chevron Stenciled Picture Frame Tutorial
Here is an easy way to decorate a cheap $1 craft picture frame.
I found this one at Michaels a while ago.
Fun to decorate your home, or to give as an unique handmade gift...
You will need the following materials:
* Picture Frame
* Contact Paper/ Shelf Liner ($store)
* Scissors or cutting machine to cut template
* Craft Paint in 2 colors
*Mod Podge
* Foam Paint Brushes
* Optional: Button/ribbons/fabric to decorate, and glue gun
Start by painting it in the lightest color and let it dry.
(I painted it plain white, just paint the whole thing.)
Then, cut your template out of contact paper.
I used my Silhouette Cameo to cut a chevron template,
but you can also easily cut one by hand:
 |
| 1 & 2: Fold paper accordion style 3: Cut under an angle 4: Unfold to reveal chevron template |
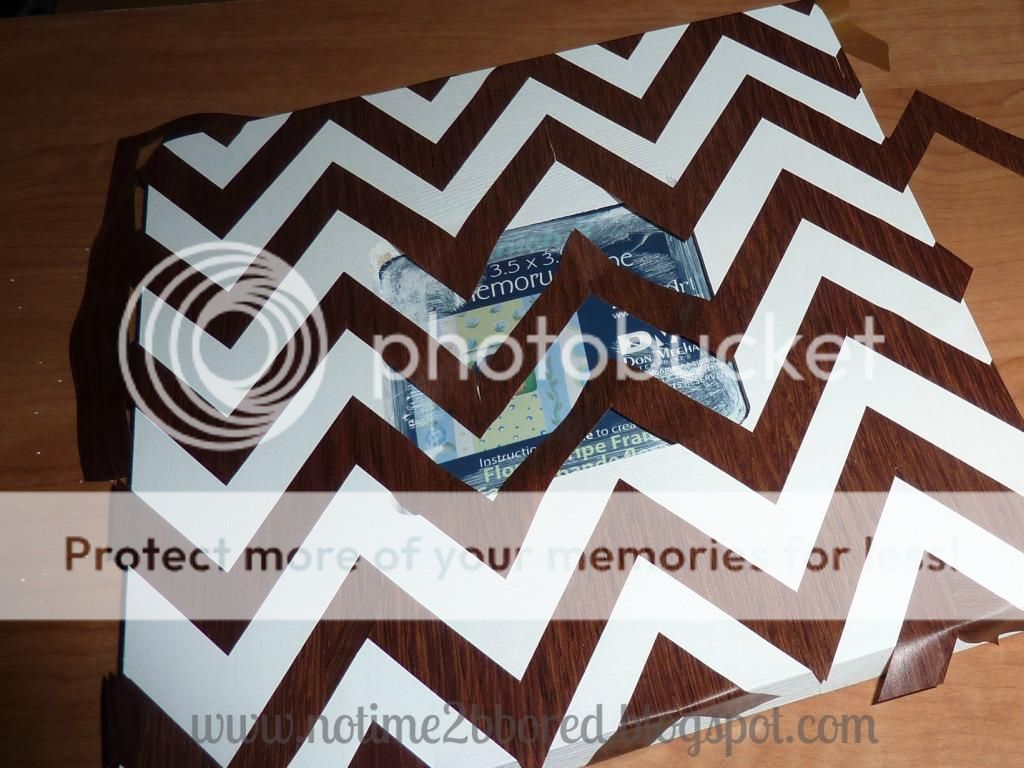
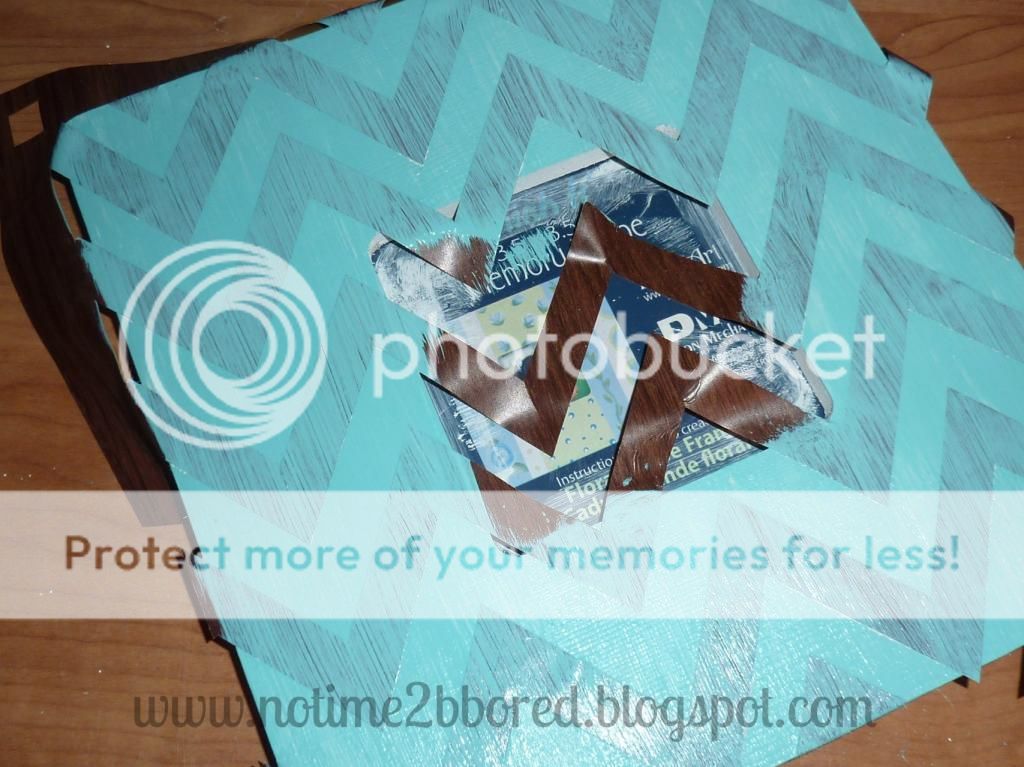
Apply the contact paper chevron template to your frame as pictured below:
Next, 'paint' over the whole thing with Mod Podge.
This will keep the next color of paint from bleeding under the template.
After the Mod Podge layer has dried,
paint your second color. (In this case, aqua.)
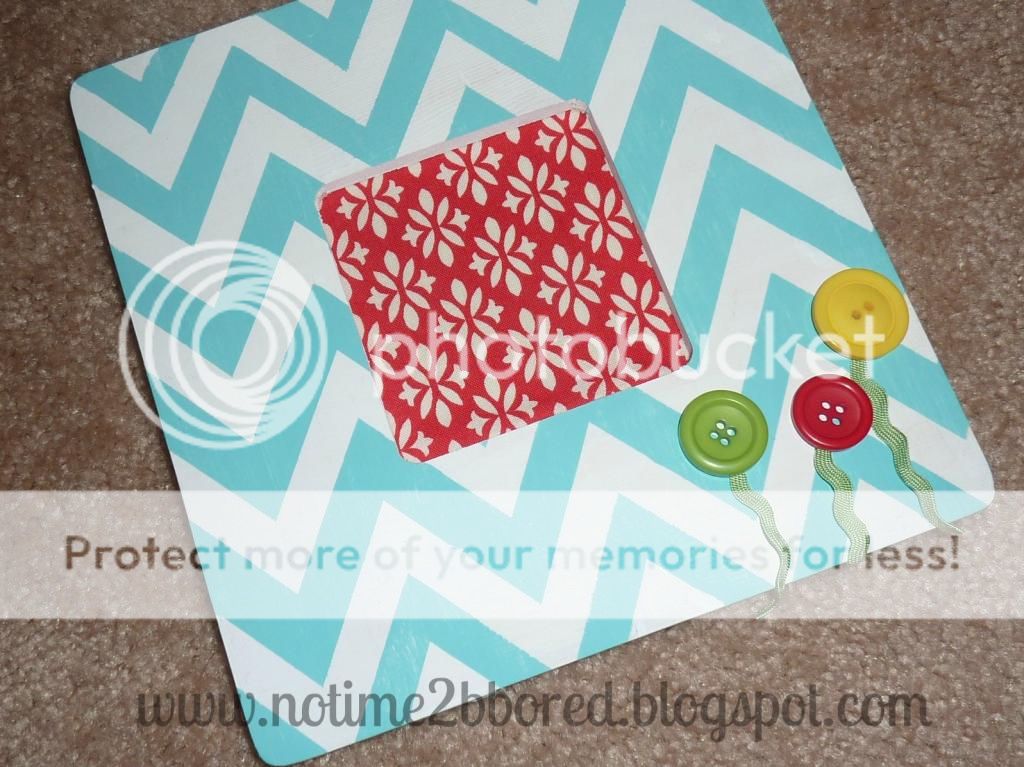
Let dry again, and peel away the contact paper to reveal your chevron pattern:
Now, you can leave it like it is,
or decorate it with buttons, ribbon, etc, whatever you like.
I used some buttons and ribbon to create some flowers,
and glued them in place with a hot glue gun.
Shared at Thirty Handmade Days, Tatertots and Jello, Brassy Apple, Sugar Bee Crafts, Craft-o-maniac and Somewhat Simple.
Subscribe to:
Comments (Atom)


